Got a messy desktop on your Windows 11 PC? No worries! You can make Windows tidy up your icons automatically with just a few clicks.
This quick guide will walk you through enabling the auto-arrange feature to keep your desktop neat and organized.
Auto Arrange Desktop Icons In Windows 11
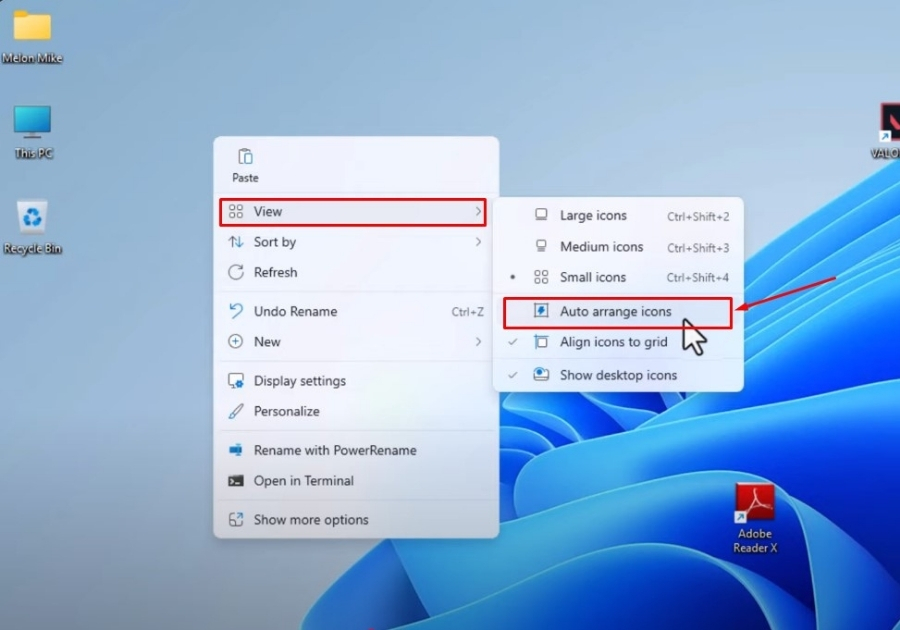
1. Right-click on an empty space on your desktop
First, find a blank area on your Windows 11 desktop (somewhere without an icon). Right-click there. This will bring up a small menu.
2. Hover over “View”
In that menu, move your mouse over the View option. This will open up another little menu on the side with more options.
3. Click “Auto arrange icons”
Now look for Auto arrange icons in the list. Click on it once. After that, your icons will line up neatly in columns starting from the left side of your screen.
You’ll see a checkmark appear next to it, that means it’s now turned on.
What happens now?
Once it’s enabled, Windows will take over the job of keeping your desktop tidy. If you add, move, or delete icons, the rest will shift automatically to keep things organized.
Keep in mind: while this is turned on, you can’t move icons freely to random spots. Windows will always snap them back into place. If you ever want to move things manually, just right-click again and uncheck “Auto arrange icons.”
That’s all it takes to keep your desktop looking clean without any extra effort.