If you’ve ever wanted to cut out an image and get rid of its white background in Photoshop, you might think it’s complicated. But guess what? It’s actually easy, even if you’re just starting out.
Whether you’re working on product images, logos, or personal projects, these tricks will save you time and give you clean, professional results.
In this quick guide, we’ll walk through three simple methods that let you remove a white background and leave it transparent, all with just a few clicks.
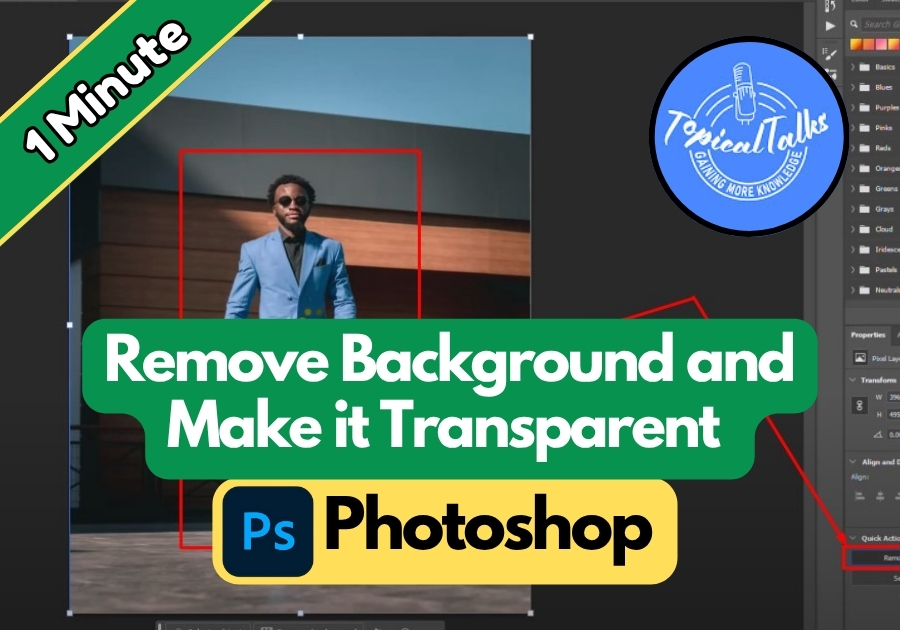
Remove White Background and Make it Transparent in Photoshop
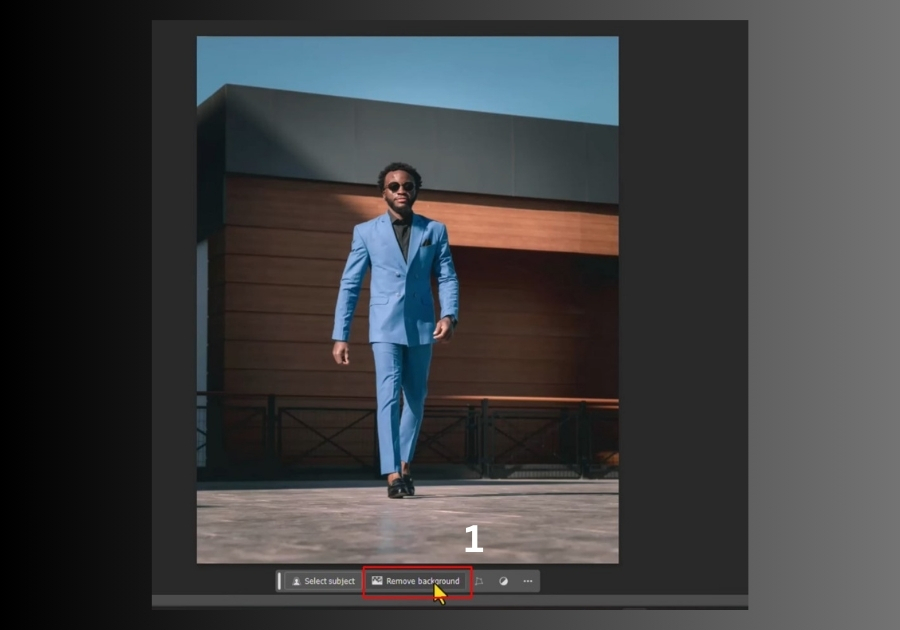
Method 1: One-Click Background Removal
- Select your image layer.
- On the right side, look for the “Remove Background” button.
- Click it, and that’s it! Photoshop will automatically cut out the background, leaving your subject on a transparent layer.
Fastest method
Perfect for clean, high-contrast images
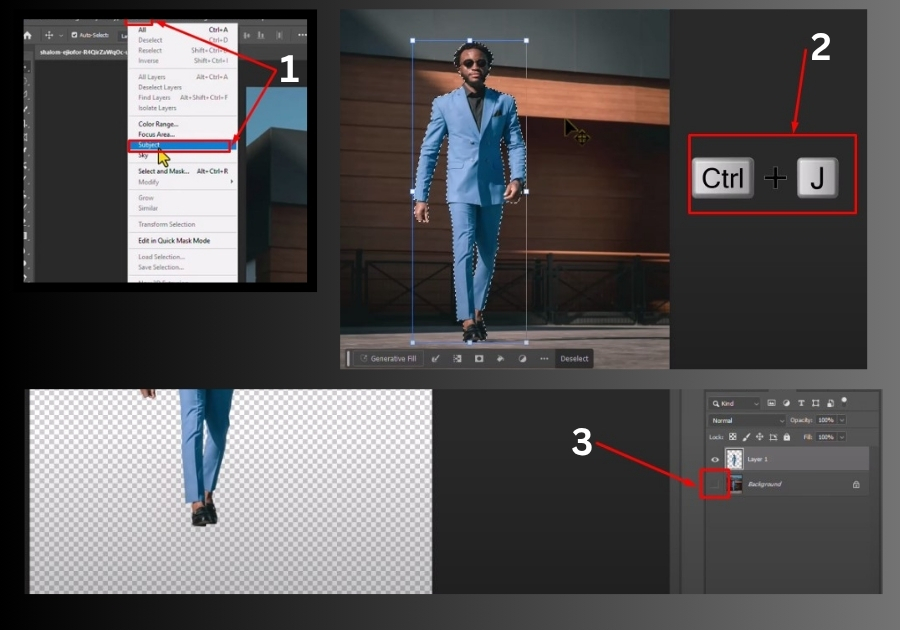
Method 2: Use “Select Subject”
- Click on your image layer.
- Go to the top menu: Select > Subject
- Photoshop will highlight your main subject in seconds.
- Press Ctrl+J if you want to undo or fine-tune.
- Hide or delete the background layer, and you’re left with a clean cutout.
Great when the background isn’t pure white
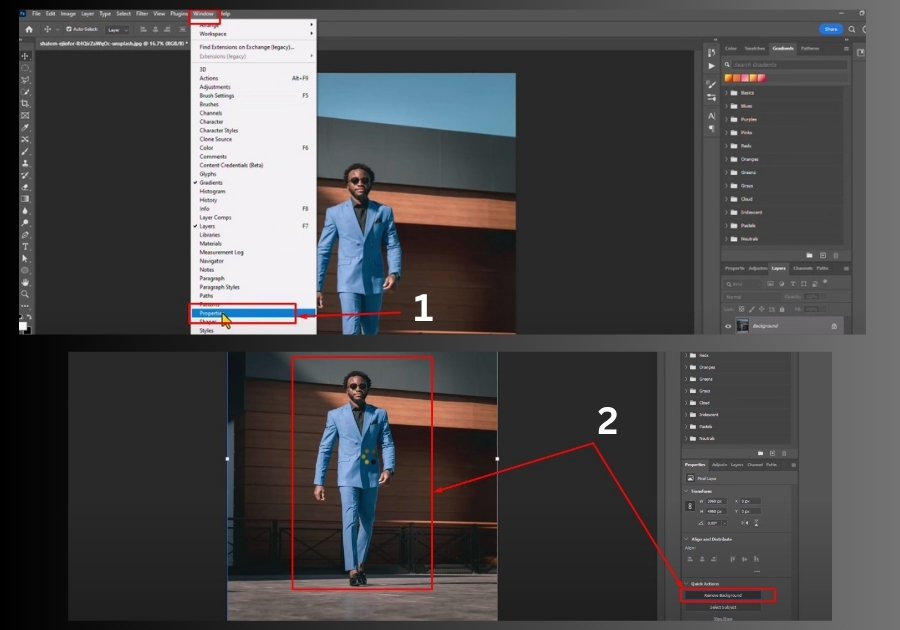
Method 3: Via the Properties Panel
- Go to Window > Properties to open the panel.
- Scroll down to Quick Actions.
- If “Remove Background” is missing:
– Go to your Layers panel
– Unlock the layer by clicking the lock icon - Head back to Properties and click Remove Background.
Handy for users who love working with panels
And that’s it!
Three easy ways to remove white backgrounds in Photoshop and make your images look sharp and professional. No magic wand, no complex selections, just fast and clean results anyone can do.