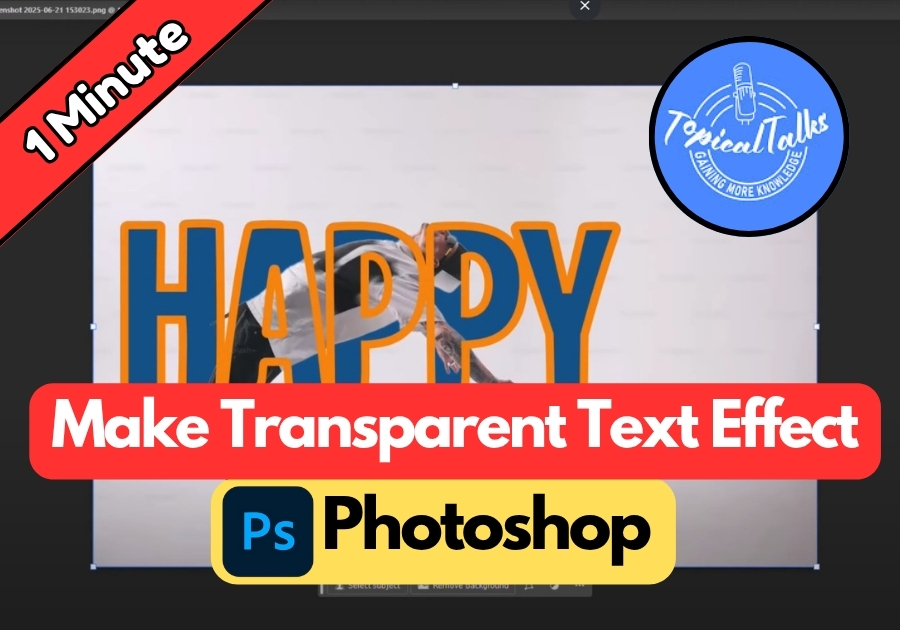
Want to make your text pop without hiding the background? The transparent text effect in Photoshop is a sleek way to do just that.
Whether you’re working on a poster, a social media post, or a thumbnail, this simple trick gives your design a professional edge, without any complicated steps.
Let’s break it down into an easy step-by-step tutorial.
Make a Transparent Text Effect in Photoshop
Step 1: Unlock Your Image Layer
Start by opening your image in Photoshop. Your image layer is locked by default, so double-click it in the Layers panel to unlock it. This lets you edit the layer freely. Hit OK when the dialog box pops up.
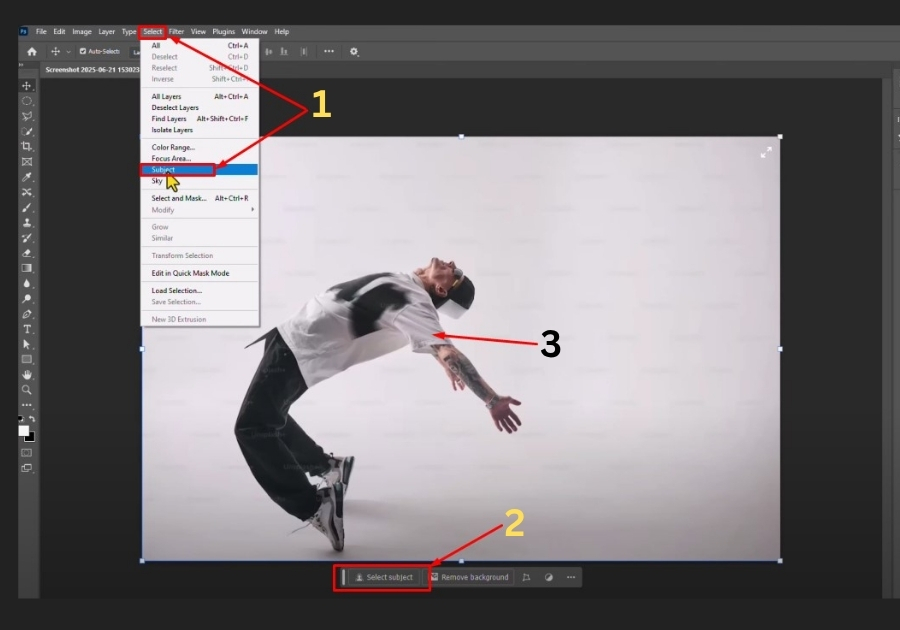
Step 2: Select the Subject
Next, isolate the main subject in your image. Go to the top menu, click Select, and choose Select Subject. Photoshop’s AI will automatically outline your subject, like a person or object. If the selection isn’t perfect, you can refine it later, but this usually works great.
Step 3: Create the Transparent Subject
With your subject selected, press Ctrl + J (Windows) or Cmd + J (Mac) to copy it onto a new layer. This keeps your original image safe. Now, hide the background layer by clicking the eye icon next to it in the Layers panel. Your subject should now appear on a transparent background.
Step 4: Add Your Text
Grab the Text Tool (T) from the toolbar. Click anywhere on your image and type your text. Want to make it bold or fun? Highlight the text, then pick a font from the top menu. You can also change the text color by clicking the color box in the options bar. Once you’re happy, click OK.
Step 5: Resize the Text
To make your text bigger, select the Move Tool (V) from the toolbar. Click and drag the corner handles of the text box to scale it up or down. Position it where it looks best over your subject.
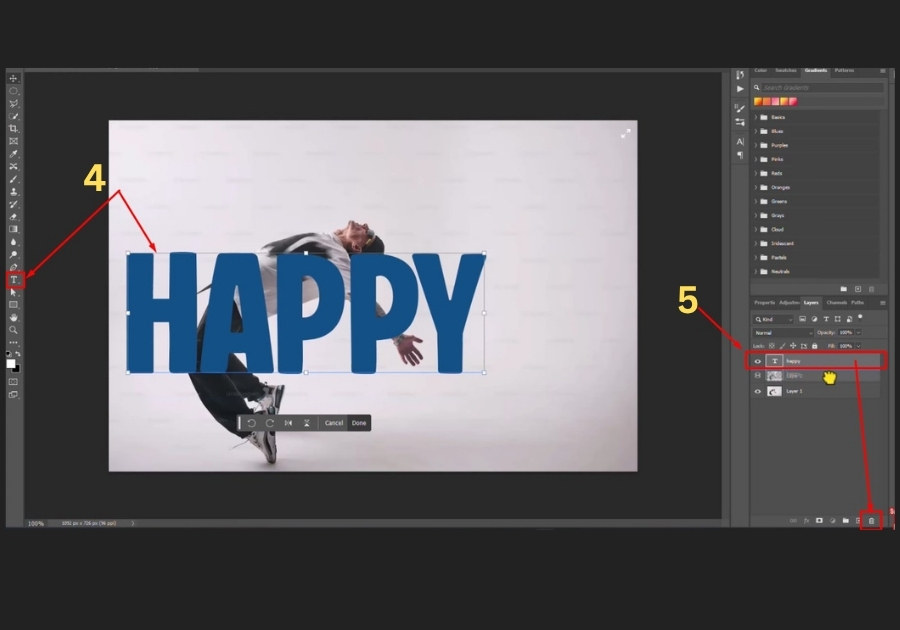
Step 6: Duplicate the Text Layer
In the Layers panel, right-click your text layer and select Duplicate Layer. This creates a copy of your text. Drag the original text layer below the copied one in the Layers panel.
Step 7: Convert the Copied Text to a Shape
Right-click the duplicated text layer (the one on top) and choose Convert to Shape. This turns your text into a vector shape, which we’ll use for the outline effect.
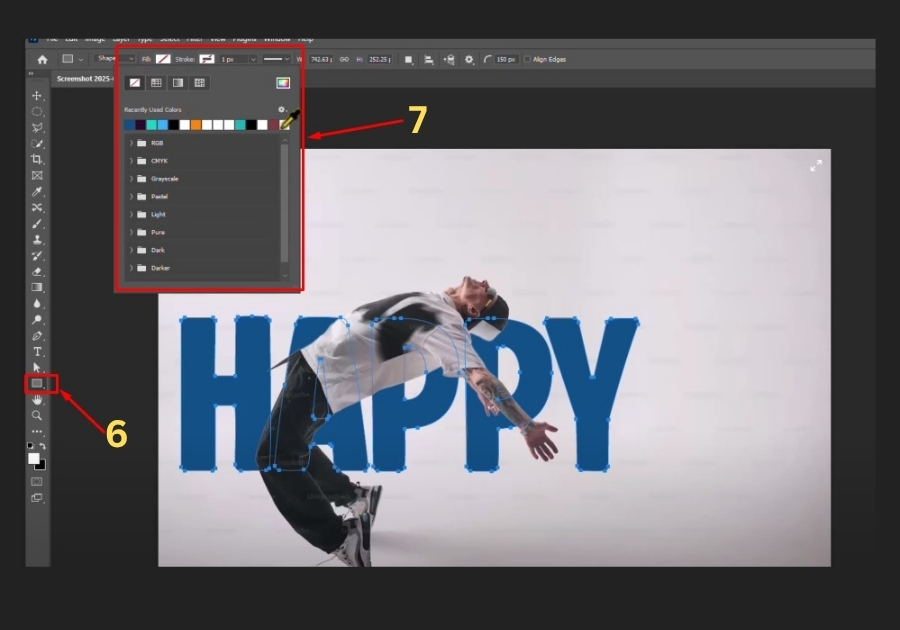
Step 8: Add a Stroke Outline
With the shape layer selected, go to the toolbar and pick the Rectangle Tool (U). In the options bar at the top, set the Fill to No Color (the box with a red slash). Then, click the Stroke box and choose a color for the outline; orange works great for a bold look. Adjust the stroke width to make the outline thicker or thinner, depending on your vibe. Click OK.
Step 9: Link the Text Layers
Hold Ctrl (Windows) or Cmd (Mac) and click both text layers in the Layers panel to select them. Then, click the Link Layers icon (a chain) at the bottom of the panel. This keeps the layers aligned if you move or resize them later.
Step 10: Final Touches
Select the Move Tool (V) again and tweak the position of your text if needed. You’re done! Your text should now have a transparent fill with a colorful outline, blending perfectly with your subject.
That’s it!
You’ve created a slick transparent text effect in Photoshop! Play around with fonts, colors, and stroke widths to match your style. This effect is perfect for posters, thumbnails, or anything that needs a modern touch. Thanks for following along!