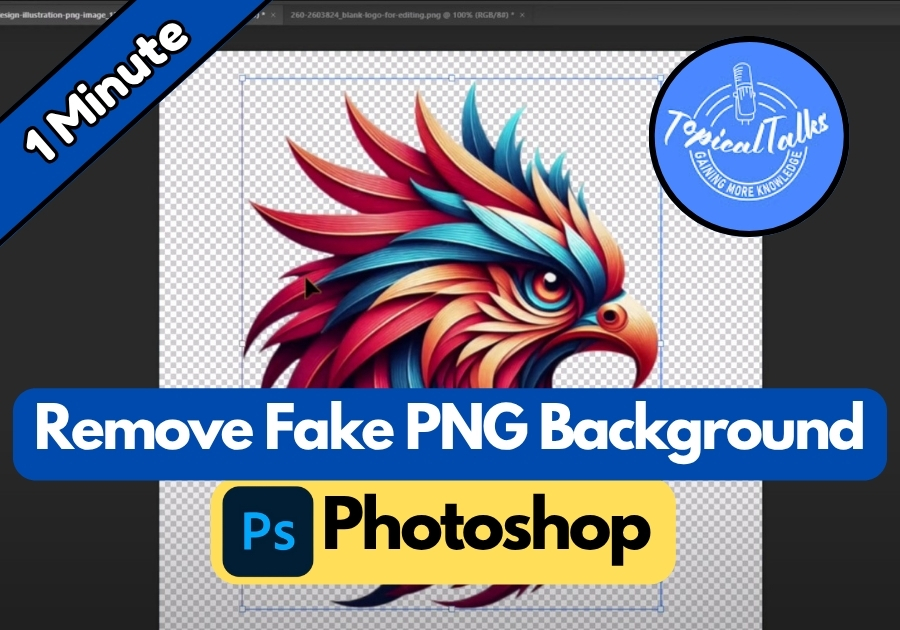
You’ve probably seen those images that look like they have a transparent background, but when you zoom in, there’s a weird gray or checkered outline around the edges. That’s what we call a fake PNG background. The good news is you can fix it fast in Photoshop without any complicated tools.
Here’s how to do it step by step:
Step-by-Step Guide to Remove Fake PNG Background
Step 1: Open Your Image and Unlock the Layer
First, open your PNG file in Photoshop. When you load it, the image might be locked as a background layer. To fix this, look at the Layers panel (usually on the right side). You’ll see your image listed as “Background” with a little lock icon next to it.
- Double-click the layer name in the Layers panel.
- A dialog box will pop up. Just hit “OK” to unlock it. This turns it into a regular layer (usually named “Layer 0”).
Unlocking the layer lets you edit it freely, which is key for the next steps.
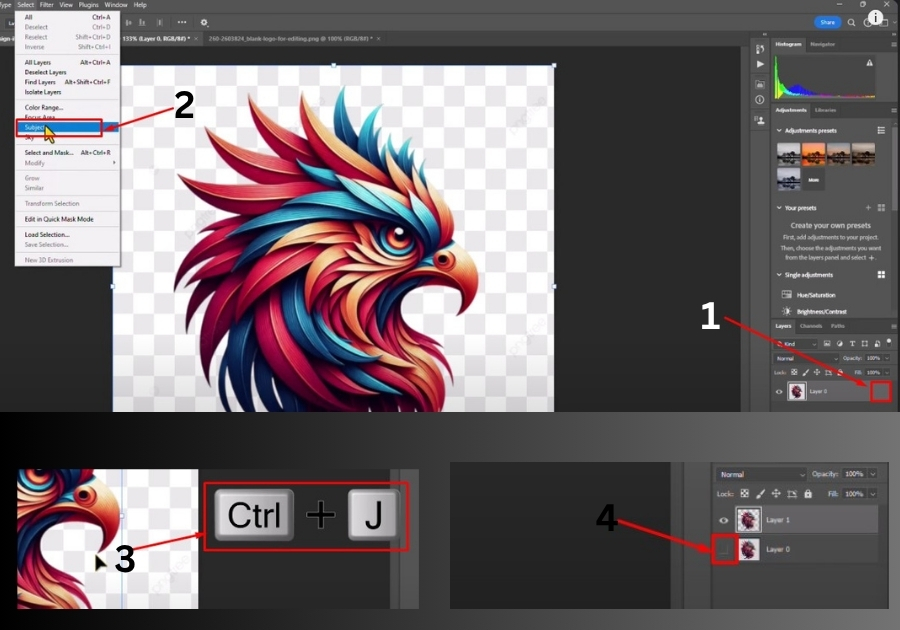
Step 2: Select the Subject
Now, let’s isolate the main object in your image. Photoshop makes this part a breeze with its “Select Subject” tool.
- Go to the top menu and click Select > Subject.
- Photoshop will automatically detect and outline the main object in your image. It’s pretty smart, so it usually nails this step!
You’ll see marching ants (that dotted outline) around your subject. If the selection isn’t perfect, don’t sweat it; you can tweak it later if needed.
Step 3: Undo Any Mistakes (If Needed)
If you mess up or the selection isn’t quite right, no big deal! Just press Ctrl + Z (or Cmd + Z on a Mac) to undo your last action. This lets you start fresh or try the selection again.
Step 4: Hide the Fake Background
Here’s where the magic happens. To get rid of that fake background:
- In the Layers panel, look for the layer with the fake background (usually the bottom layer).
- Click the little eye icon next to it to hide it. Poof! The fake background disappears, revealing a real transparent checkerboard pattern.
That checkerboard is Photoshop’s way of showing true transparency. You’re almost done!
Step 5: Save Your Transparent PNG
Now that you have a clean, transparent background, save your work:
- Go to File > Export > Export As.
- Choose PNG as the format and make sure the “Transparency” box is checked.
- Hit “Export” and save your file.
That’s it!
You now have a PNG with a real transparent background, ready for whatever project you’re working on.