If you’ve created or edited a GIF in Photoshop and want to save it without losing movement, here’s how to do it right. Whether you’re working with a short loop or a longer animated sequence, exporting as a GIF in Photoshop is straightforward once you know where to go.
This quick method ensures your animation stays intact and is ready to use online or share anywhere. Let’s walk through exactly how to do it step by step.
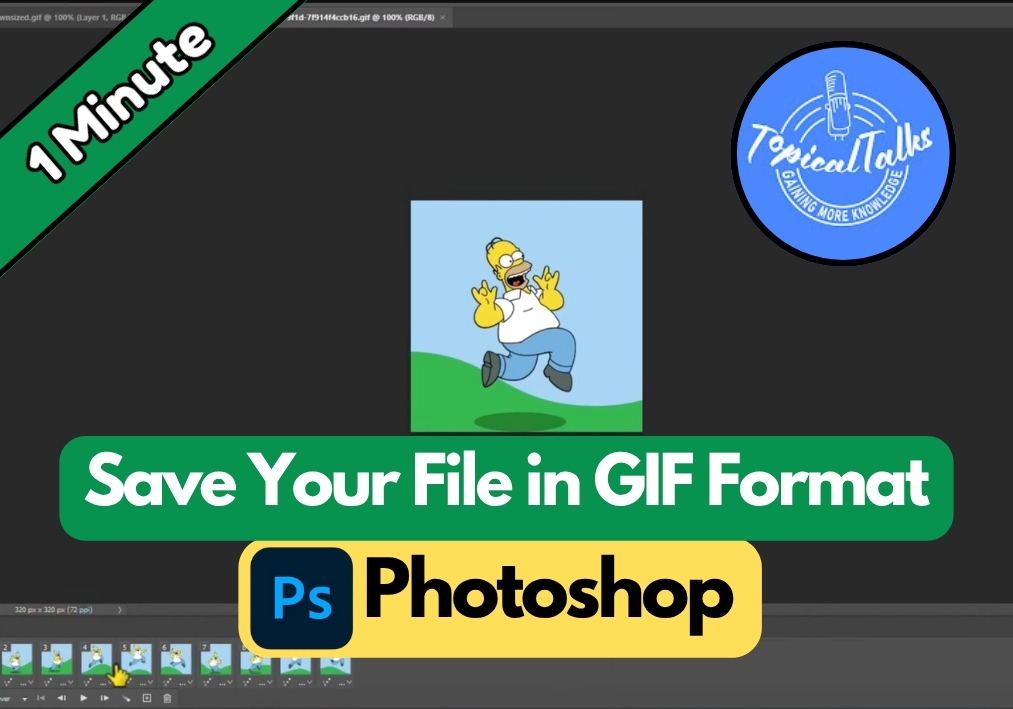
Step-by-Step Guide to Saving a GIF in Photoshop
Step 1: Open the Timeline
First, you need to make sure your animation is ready to go. In Photoshop, head to the top menu and click Window. From the dropdown, select Timeline to enable it. This opens the timeline panel at the bottom of your screen, where you’ll see all the frames of your GIF. Double-check that your animation plays smoothly here before moving on.
Step 2: Access the Save for Web Option
Once your animation looks good, it’s time to export. Go to the top menu again and click File. Hover over Export, then choose Save for Web (Legacy). If you love shortcuts, you can press Alt + Shift + Ctrl + S (Windows) to open the same window. This is where the magic happens for saving your GIF.
Step 3: Choose the GIF Preset
In the Save for Web window, you’ll see a drop-down menu labeled Preset at the top. Click it and select either GIF 128 Dithered or GIF 128 No Dither. Both work well, but the dithered option adds a bit of texture to smooth out color transitions. Make sure the file type below the preset is set to GIF; this is key for your animated file.

Step 4: Adjust Image Size (Optional)
If you need to tweak the size of your GIF, you can do it right here. Look for the Image Size section in the Save for Web window. Enter your desired dimensions to make the GIF smaller or larger, keeping in mind that smaller sizes mean faster loading times for web use.
Step 5: Save Your GIF
When you’re happy with the settings, click Save at the bottom of the window. A new dialog box will pop up, letting you rename your file and choose where to save it. Pick a name that makes sense, like “my-cool-gif.gif,” and hit Save. Photoshop will export your animation as a GIF file.
Step 6: Check Your GIF
Head to your file explorer (or Finder on a Mac) and locate the GIF you just saved. Open it to make sure the animation is working as expected. If the frames are moving smoothly, congrats, you’ve successfully created and saved a GIF in Photoshop!
Now you’re ready to share your awesome GIF with the world! Whether it’s for social media, a website, or just for fun, you’ve got the skills to make it happen.