
Want to turn your photo into a negative-style image in seconds? Inverting an image in Photoshop is super simple and gives you a cool visual effect.
Whether you’re working on a fun project or need a quick edit for design purposes, this trick is worth knowing.
Let’s walk through how to do it step by step without any confusion.
Step-by-Step Guide to Invert Your Image
- Duplicate the Image Layer
Start by duplicating your image layer. This keeps the original safe in case you want to go back. Just right-click on your image layer in the Layers panel and select Duplicate Layer. - Select the Duplicated Layer
Click on the duplicated layer to make sure it’s selected. - Go to the Invert Option
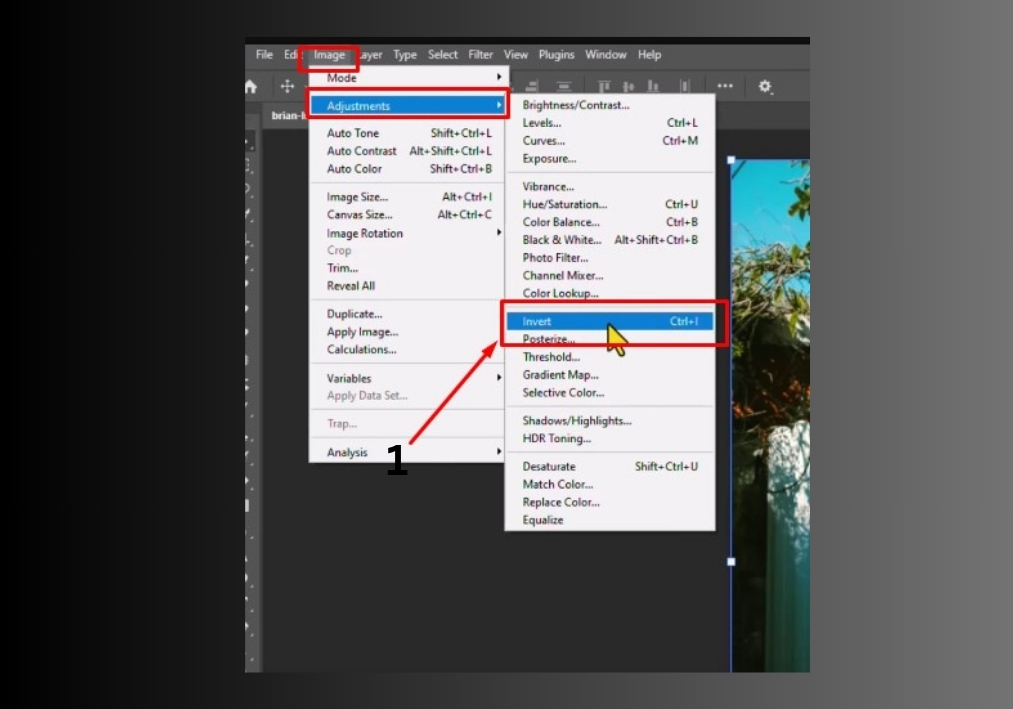
Now, at the top menu, click on Image, then hover over Adjustments, and click Invert.
Shortcut: Press Ctrl + I on your keyboard (Command + I on Mac) for a faster way to invert. - Done!
Your image colors will instantly flip, light turns dark, and dark turns light. It’s that simple.
That’s it!
You’re now ready to invert images in Photoshop like a champ. Try it on different photos to see how this simple trick can transform your visuals.