Drones are awesome, but keeping their firmware up to date is key to getting the best performance. Whether you’re a seasoned Pro DJI drone pilot or just starting out, updating your drone’s firmware ensures your device runs smoothly.
In this guide, I will show you how to check your DJI drone’s firmware version and update it step by step.
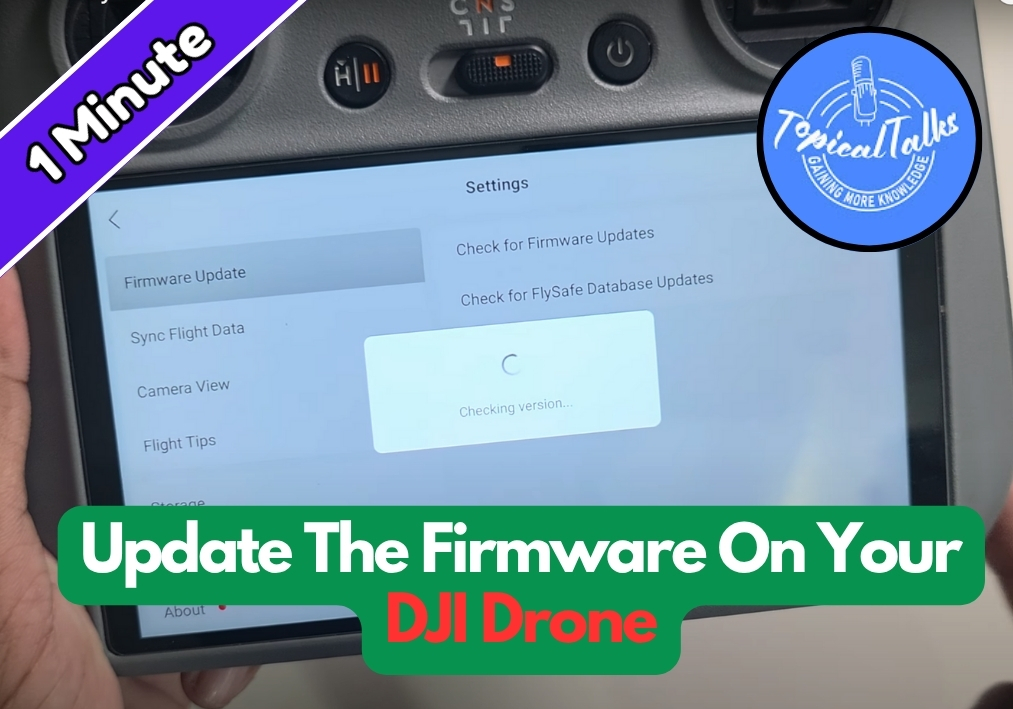
Update The Firmware On Your DJI Drone
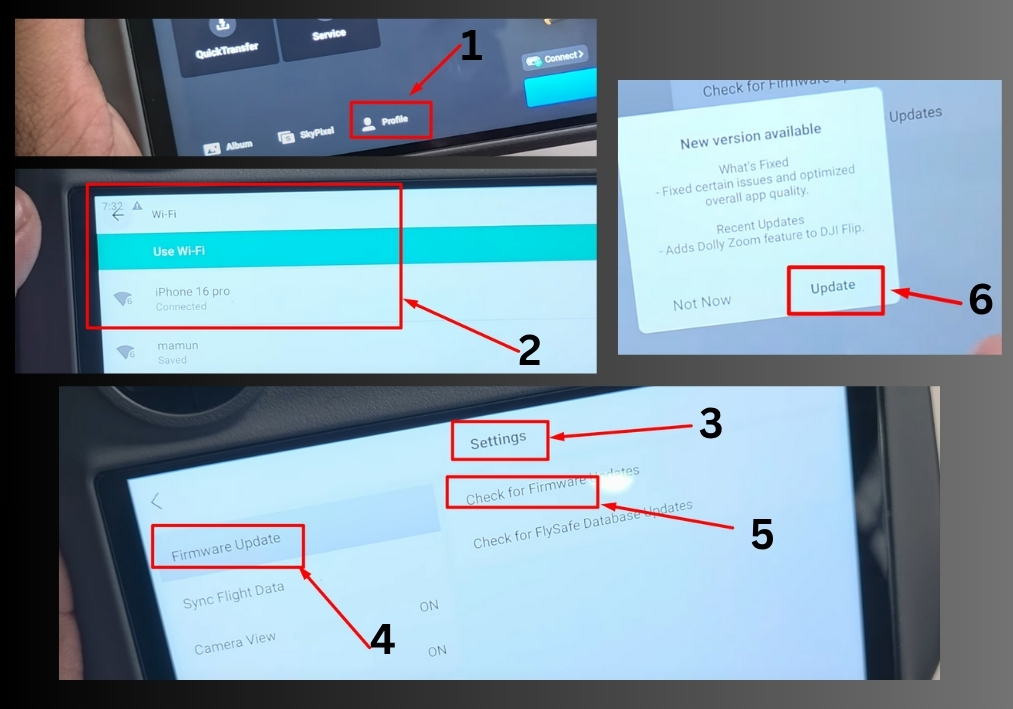
Step #1
To get started, take your DJI drone controller and turn it on. On the controller’s screen, look for the three-dotted line or the back button. Press it to open the main menu.
Step #2
Once the menu is open, find and select the Profile option. This will take you to a new screen where you can access various settings for your drone.
Step #3
In the profile section, locate the Settings menu. Scroll through until you see the Firmware option. Tap on it to check the current firmware version and look for any available updates.
Step #4
To check for updates, you’ll need an internet connection. The app will prompt you to connect to a Wi-Fi network. Go to your Wi-Fi settings, connect to a stable network, and head back to the firmware section. You should now see an Update option if a new firmware version is available.
Step #5
If an update is available, press the Update button. The system will begin downloading the latest firmware version. Once the download is complete, follow the on-screen instructions to install the update. You’re all set!
That’s it!
Your DJI drone’s firmware is now up to date, ensuring optimal performance and access to the latest features.