Want to look awesome in your text in Premiere Pro with some eye-catching colors? A gradient text effect is a simple but powerful way to make your words pop. It is simple and easy with the right trick. You don’t need any fancy plugins or advanced skills.
Just follow these easy steps to add a gradient to your text in Premiere Pro 2025.
Add a Gradient to Text in Premiere Pro

Step 1: Create a New Title
First, open up Premiere Pro and go to:
File > New > Legacy Title
Yes, we are using the legacy title tool because it still works great for this kind of text editing.
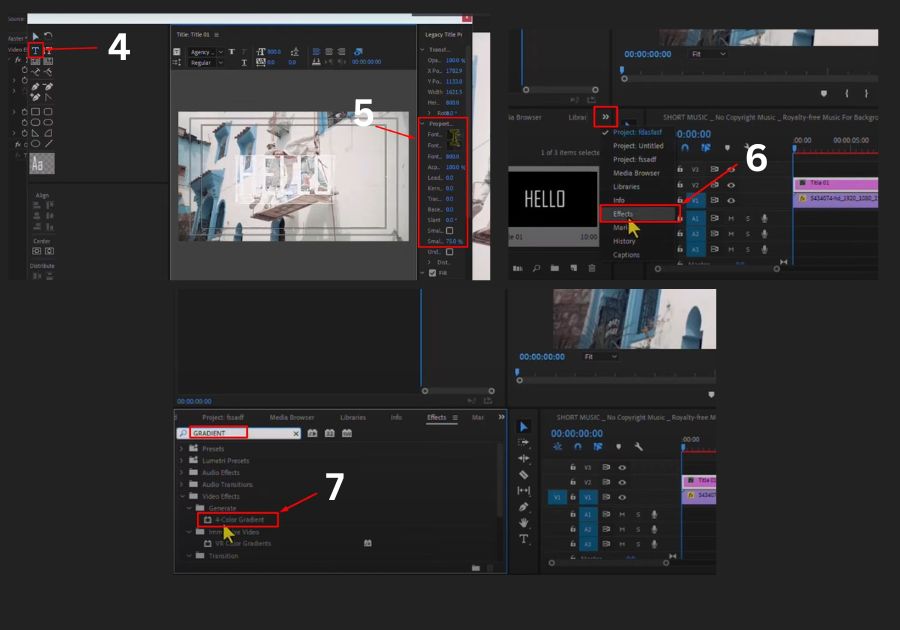
Once the title window pops up:
- Select the Text Tool
- Click anywhere and type in your text
Step 2: Customize Your Text
Now that you have typed your text:
- Select it
- Change the font and font size as you like
- Then switch to the Selection Tool to move the text around
Once your text looks good, just close the legacy title window. Your new text title will appear in the project panel.
Step 3: Add the Text to Your Timeline
Drag and drop your text onto the timeline. You can resize it if needed to fit your video.
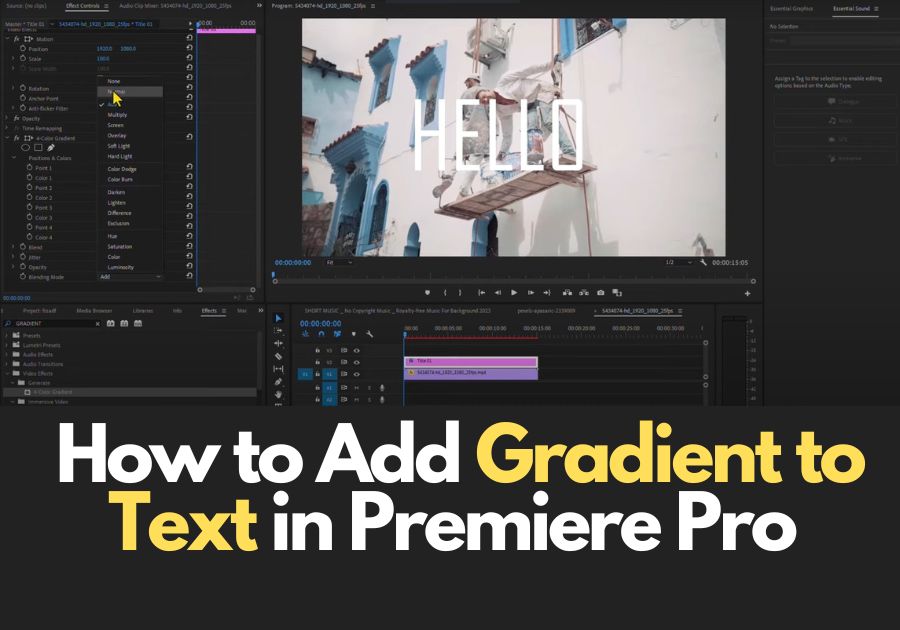
Step 4: Apply the Gradient Effect
Now, for the next part, adding the gradient.
- Head to the Effects panel
- Search for “Four Color Gradient“
- Drag and drop this effect onto your text layer
You will see the colors kick in right away.
Step 5: Customize the Gradient
In the Effect Controls panel, scroll down to the Four Color Gradient section.
You will see four color boxes:
- Click each one to pick your favorite colors
- Mix and match until you find the perfect look
Want to change the feel even more?
- Adjust the Blend setting to smooth out the transitions between colors
- Play with Opacity for transparency
- Explore different Blending Modes (just try them out one by one until you find what looks best)
And that’s it! You have successfully added a gradient to your text in Premiere Pro. This simple trick can really change the look of your videos, You can use this to create social media content, intros, or promotional clips.