Want to make your audio play faster in Premiere Pro without it sounding like a chipmunk? When you are editing a podcast, a music track, a time-lapse effect, or a video with voice overs, speeding up audio can save time and add a cool effect.
Here’s how to do it in just a few clicks.
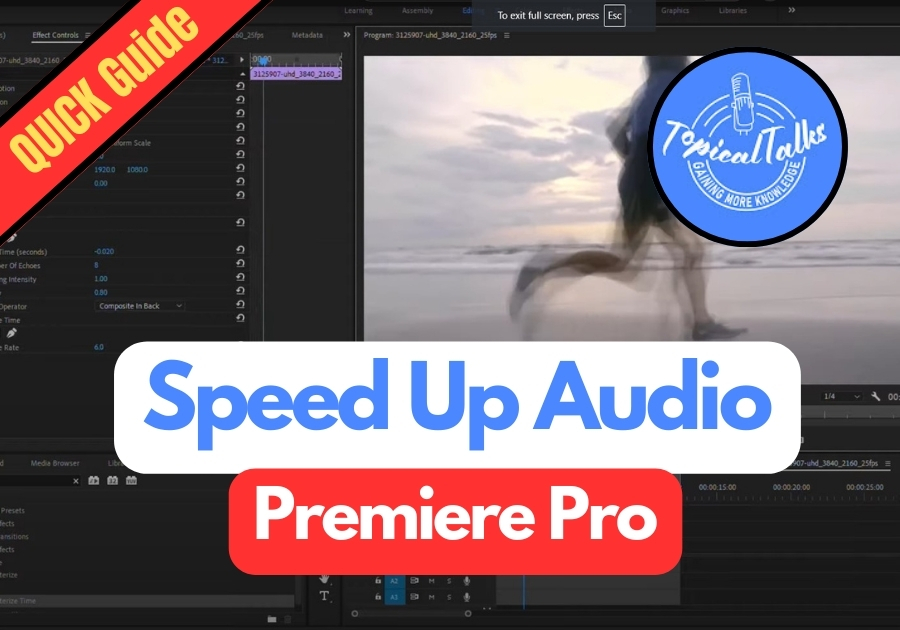
Quick Steps to Speed Up Audio
Step 1: Right Click the Audio Clip
Once you have added your audio to the timeline, just right-click on it. You will see a menu pop up. From there, click “Speed/Duration.”
Step 2: Choose Your Speed
In the Speed/Duration box, you will see a spot to enter a percentage.
- If you type in 200%, your audio will play twice as fast.
- Want it even faster? Go with 400% for 4x speed.
Step 3: Keep It Clear
Before you click OK, don’t forget to check the box that says “Maintain Audio Pitch.” It keeps your audio from sounding like a chipmunk when it speeds up. The pitch stays normal, just faster.
Step 4: Hit OK and Preview
Once everything’s set, click OK. Now hit play and listen to the faster version of your audio.

This trick works great for voiceovers, music edits, or any time you need things to move faster without messing up the sound quality. This is the easiest way to speed up audio in Premiere Pro. No fancy tricks, just simple steps anyone can do.