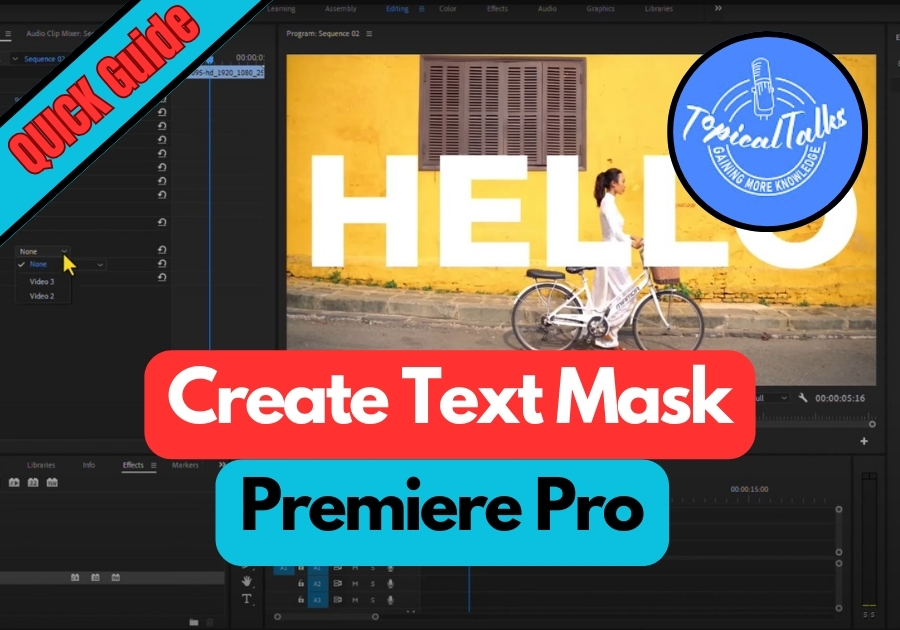
One of the simplest and coolest tricks you can do in Adobe Premiere Pro is creating a text mask. A text mask in Adobe Premiere Pro is a simple way to make your text pop by using it to reveal part of a video or image underneath. It’s an eye-catching trick that’s super easy to pull off, even if you are new to editing.
You can test this feature in just a few quick steps without any complicated settings.
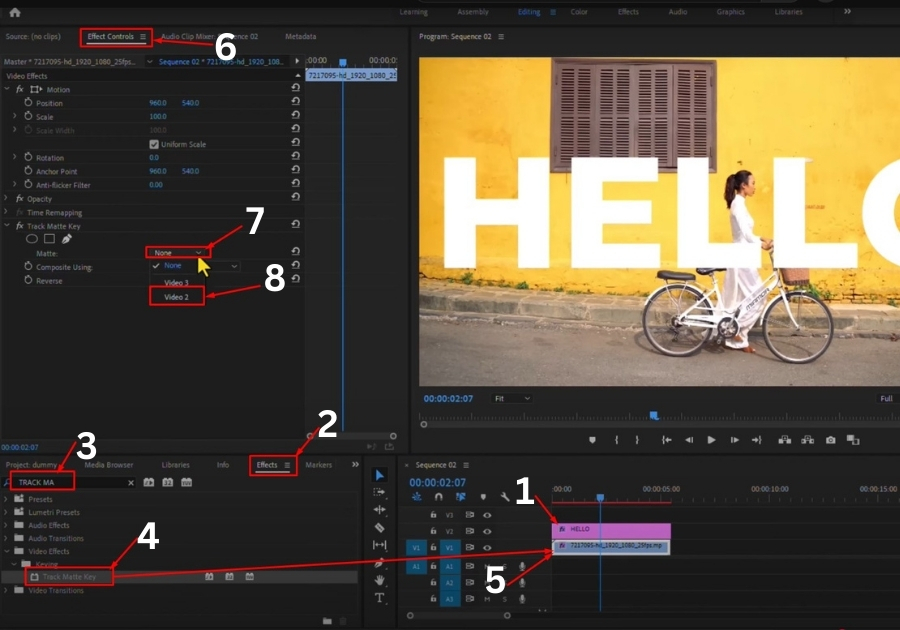
Create Text Mask in Premiere Pro
-
Set Up Your Layers
Start by placing your background clip on Video Track 1. Then, add your text on top of it, this should be on Video Track 2 or higher.
-
Add the Track Matte Key Effect
Go to the Effects Panel, type in “Track Matte Key.” Drag and drop this effect onto your background clip, not the text.
-
Adjust the Settings
Open the Effect Controls panel for your background clip. Look for the Matte dropdown menu under Track Matte Key. Click it and select your text layer from the list.
-
See the Magic Happen
Once you have selected your text layer, you will see the background only show through the text shape. That’s your text mask!
-
Check Your Work
You can animate the text or adjust effects further to make it even cooler. Maybe slide the text in while revealing the video underneath, it looks awesome!
Pro Tip
Experiment with different fonts, sizes, or even animated text to make your mask more dynamic. You can also try swapping out the background layer for something bold, like a colorful video or a looping animation, to make the effect stand out.
That’s it! In just a couple of minutes, you have created a professional-looking text mask in Premiere Pro. This technique is perfect for intros, title sequences, or any project where you want to add a creative flair.