If you have ever needed to tweak the look of a PDF, like changing the font style, Adobe Acrobat makes it pretty simple. Maybe you want to update just a few words or change the font for an entire page. Here’s how to do it without any hassle.
How to Change Font for Selected Text in a PDF
- Open your PDF in Adobe Acrobat.
- Click on “Edit PDF” from the right-hand panel.
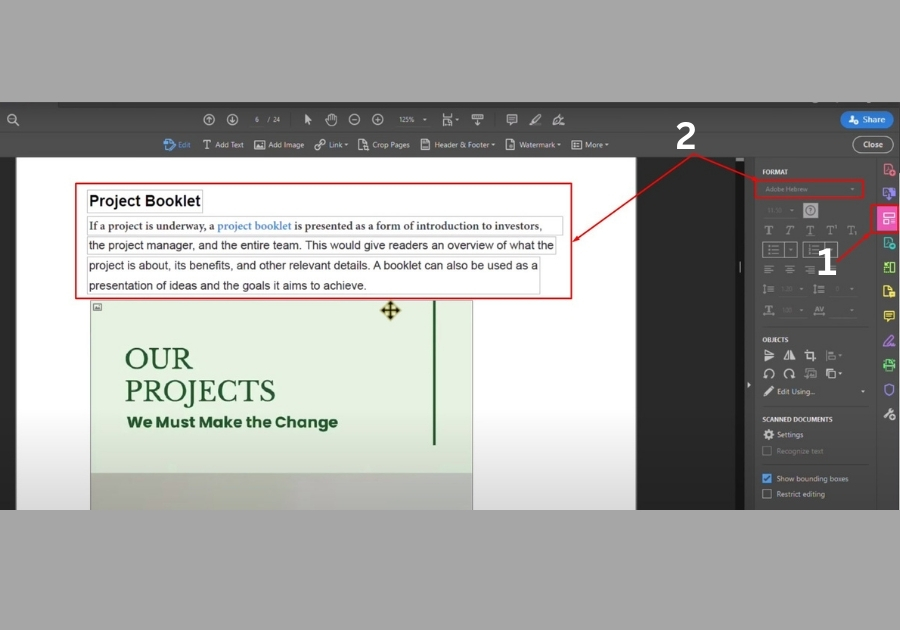
- Select the text you want to change. Just click and drag your mouse over it.
- Look for the Text Format options at the top. Click the font drop-down menu.
- Pick a new font from the list, and that’s it! Your selected text now has a new look.
How to Change Font for an Entire Page in a PDF
Want to switch up the font across a whole page? Here’s how:
- Click on the page you want to edit.
- Press Ctrl + A on your keyboard. This selects all the text on that page.
- Again, go to the font drop-down in the Text Format section.
- Choose your preferred font.
Now, every piece of text on that page will use the new font you selected. If you have multiple pages, just repeat the process for each one.
Tips for Better Results
Keep in mind that not all fonts work well in every situation. If you are sharing your PDF with others, stick to common fonts like Arial, Times New Roman, or Calibri. These fonts show up correctly on most devices.
So, next time you are working on a PDF and want to switch up the font, just fire up Adobe Acrobat, follow these steps, and make your text pop.