Want to give your videos a voice without recording your own?
CapCut makes it easy for you with its built-in AI voice feature. Whenever you’re creating a quick social media clip or a full video project, adding AI narration is fast and hassle-free.
Let’s walk through the simple steps to get your text talking in no time.
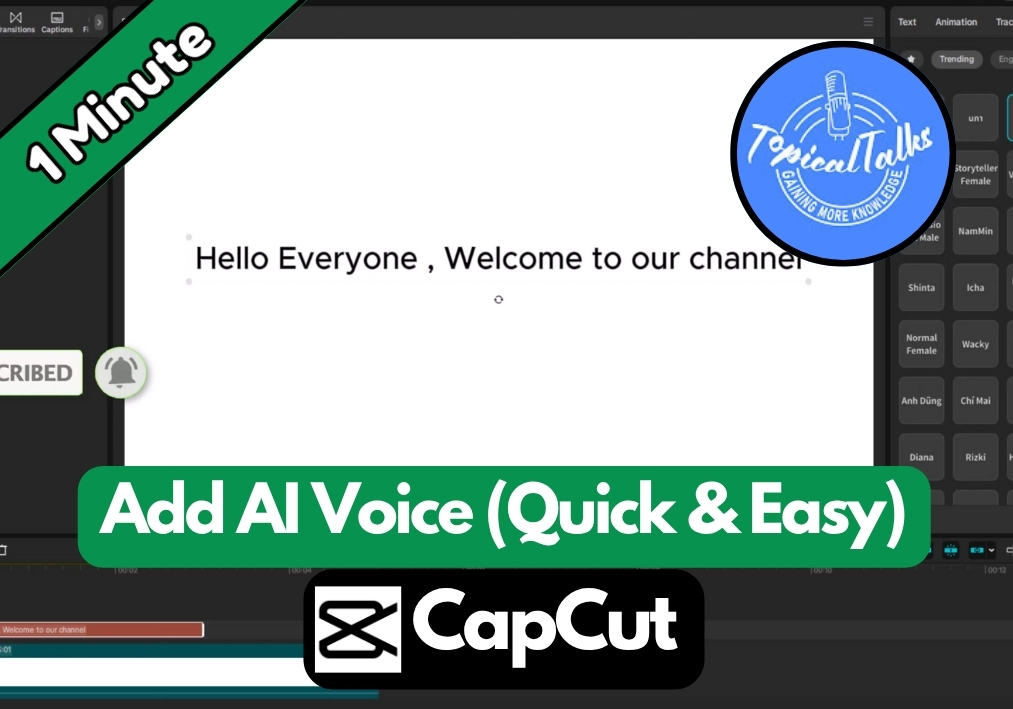
Simple Guide to Adding AI Voice on CapCut
Step #1
Open CapCut on your PC and click to start a new project.
Step #2
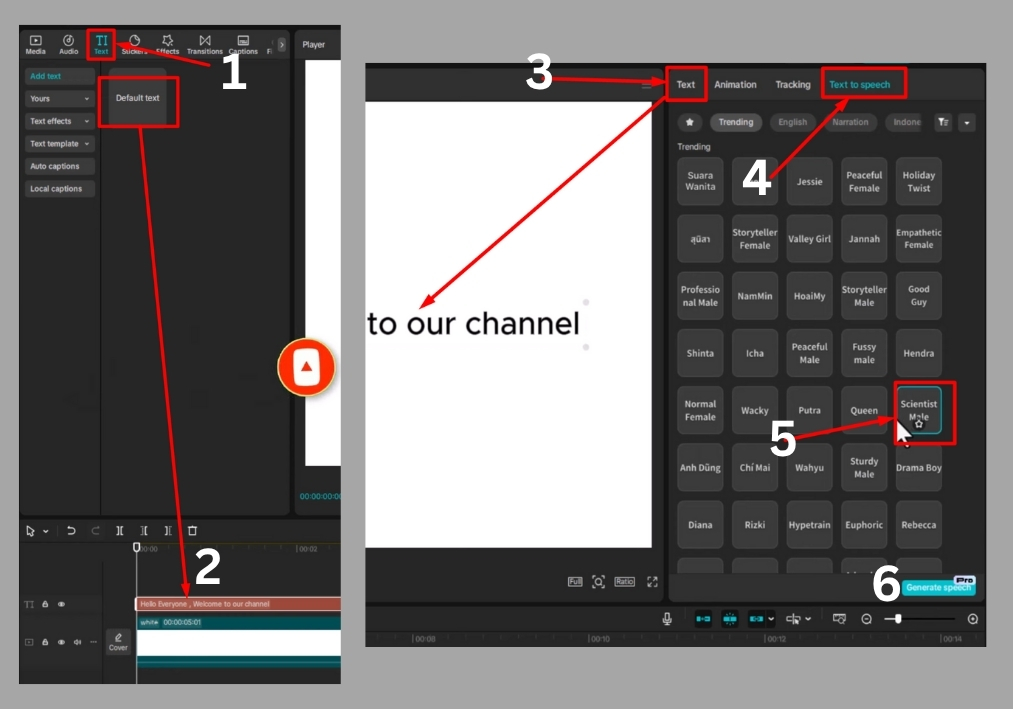
Head over to the Text option in the menu. Click to add a text layer to your timeline. This is where your AI voice will come to life.
Step #3
Type out the text you want the AI to say. Feel free to tweak the font, size, or position to match your video’s vibe.
Step #4
On the right side of the screen, find the Text-to-Speech option. CapCut offers a bunch of voice styles to pick from. Scroll through and select the one that fits your project best, whether it’s a fun, quirky tone or something more serious.
Step #5
Once you’ve picked your voice style, hit Start Reading. CapCut will work here and turn your text into a smooth AI voiceover.
That’s it!
You’ve successfully added an AI voice to your CapCut project. Play it back to make sure it sounds just right, and you’re good to go.