In today’s digital world, your Instagram profile picture is the first thing people see when they visit your account. Its very important because it can create a lasting impression. It’s a little but necessary part of how anyone can present himself or his brand to the world. Its really a simple and easy to change your profile photo. You can change it to give a professional look or just to update your profile image. A good profile photo becomes vital when you want to build your personal brand, grow your business, or just connect with friends. In this article, we will guide you through the process of adding your profile photo on the Instagram app.
In this article, we’ll guide you through the process to add your profile photo on the Instagram app. Let’s see the step-by-step method from below.
Step-by-Step Guide to Add Profile Photo in Instagram
- First open Instagram application from your mobile.
- Navigate to your current profile. tap on the profile icon in the bottom right corner.
- In the profile menu look in the top right corner and tap on the 3 line icon (looks like hamburger icon). then you will enter settings and privacy options.
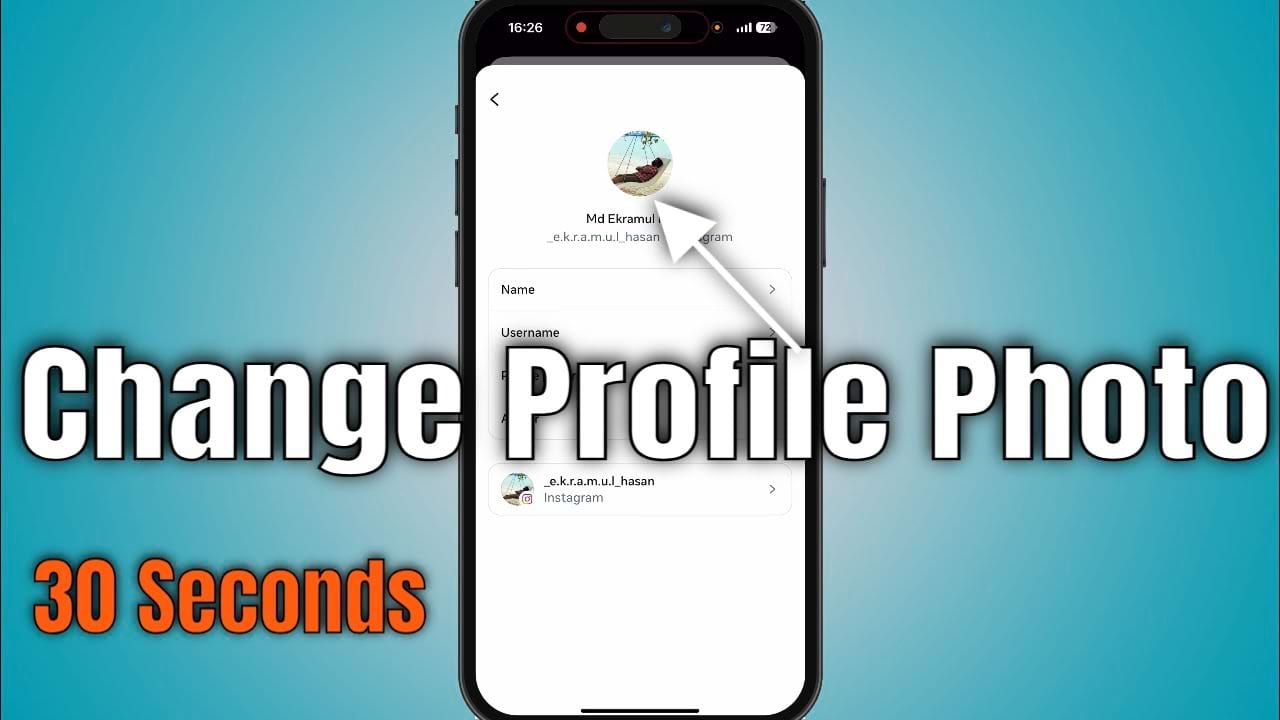
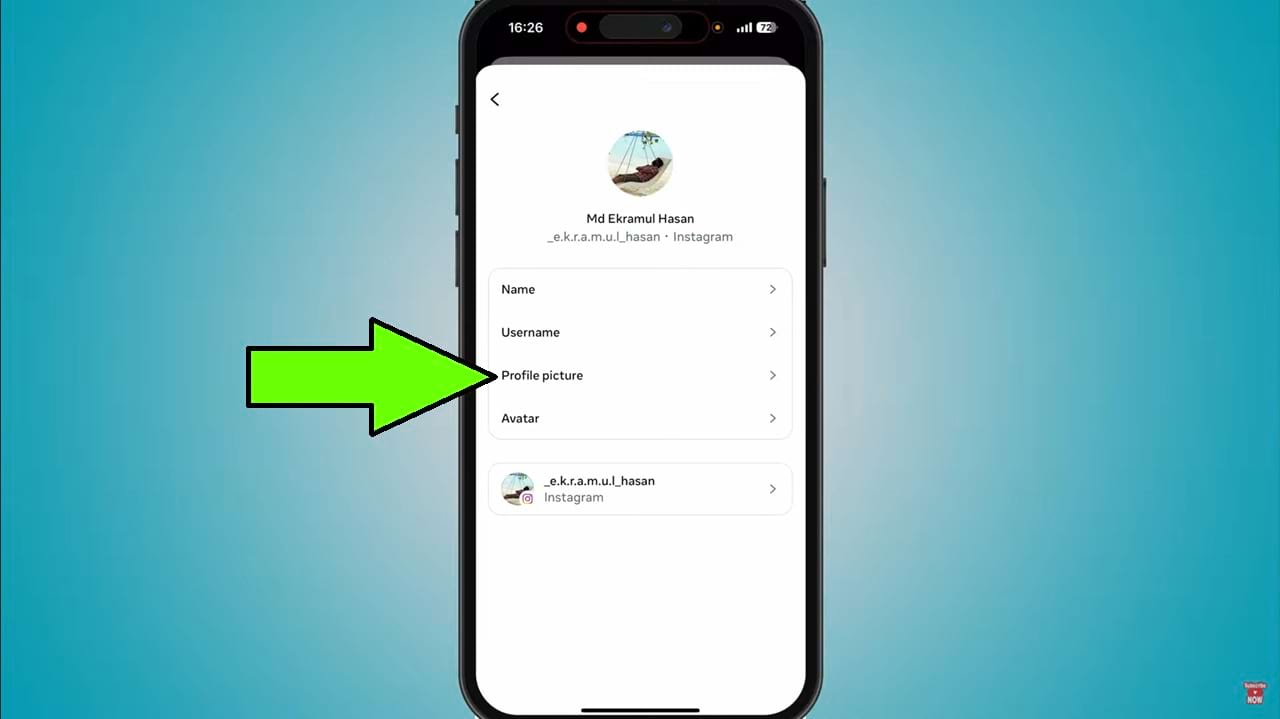
- Now in this menu, tap on the Accounts Center option. In this option you can manage your profile information of your FB and Instagram accounts.
- Now tap on the profiles. In here you can manage your profile information and use the exact details across FB, and Instagram. You can also add multiple accounts of yours.
- Now tap on the Instagram profile. Then select profile picture option.
- after that the album section will appear. Then select your desired photos you want to set as your profile picture.
- After selecting your image, It will take you to the preview section. From here, you can edit, Crop and also add filters to your selected photo. Just tap on done to apply your photo in the profile picture.
So that’s how you can add profile photo in Instagram.