Flying your DJI drone safely means knowing how to control its flight boundaries. Whether you are a beginner or an experienced pilot, adjusting your drone’s maximum altitude and distance settings is crucial for safe operation.
This quick guide will show you the simple steps to customize these important safety limits right from your drone’s interface.
Easy Steps to Adjust Altitude and Distance
#1
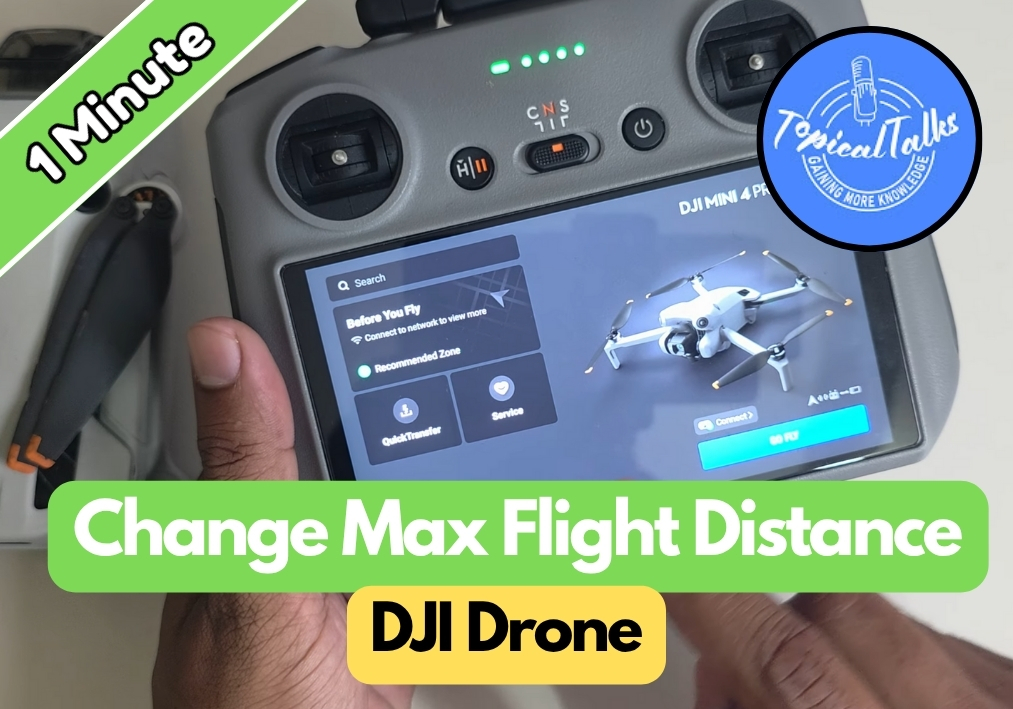
Start by launching the app on your device and connecting it to your drone. Make sure your drone is powered on and ready to go.
#2
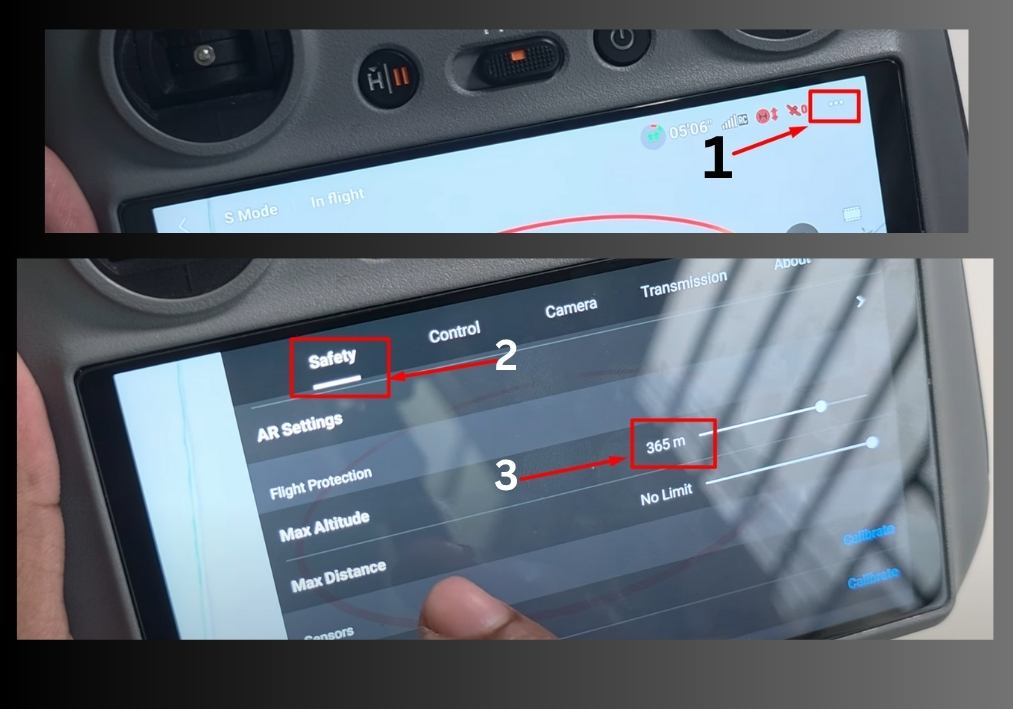
Look for the three-dotted line (on the top corner of the app). Tap it to open the main menu.
#3
Scroll down and find the “Safety” section. This is where you can tweak all the important flight limits.
#4
Under the Safety menu, you will see an option for “Max Altitude.” Tap it, and manually enter your desired altitude, like 500 meters, depending on your needs (and local regulations, of course!).
#5
You will also see an option for “Max Distance.” Input the distance you want your drone to stay within, such as 500 meters, to keep it in range. Now hit the back button to save your changes.
That’s all!
These safety features help ensure your drone stays within safe operating boundaries, giving you peace of mind during every flight session.