Maybe you are making a survey, a registration form, or a simple questionnaire, adding form fields lets your users type, click, or select options right in the PDF. Creating interactive PDFs is easier than you might think, especially when you know how to add form fields in Adobe Acrobat.
Here’s a step-by-step guide to help you add form fields.
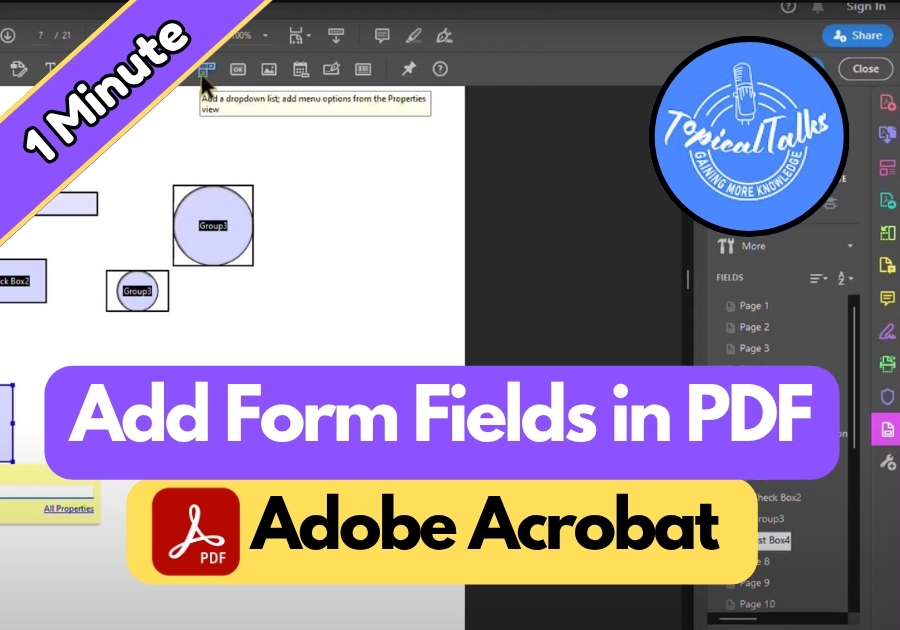
Add Form Fields in PDF
Step 1: Open Your PDF in Adobe Acrobat
Start by launching Adobe Acrobat and opening the PDF you want to edit. Make sure it’s saved before you go any further, Acrobat won’t let you continue unless it’s saved.
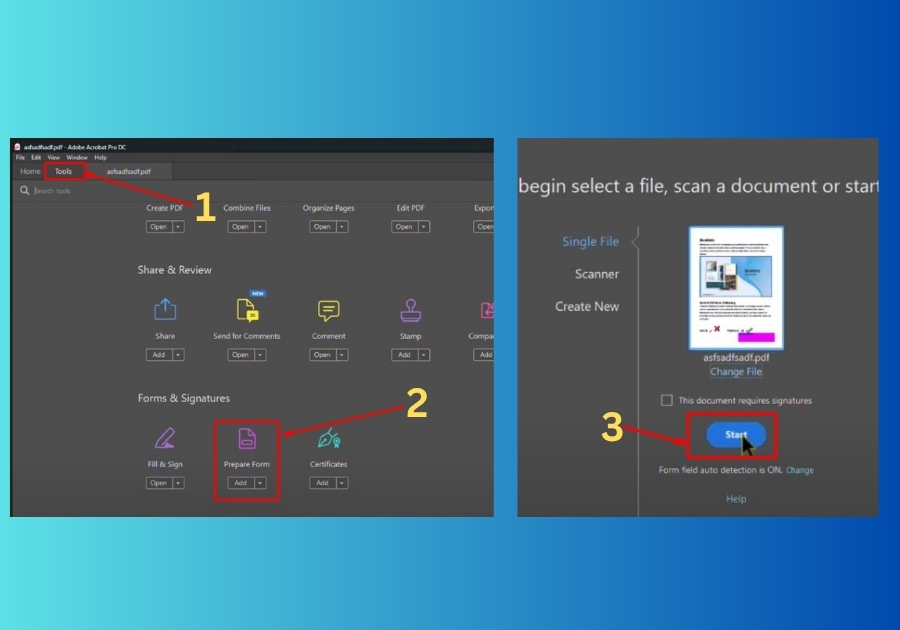
Step 2: Head Over to the Tools Section
Once your PDF is open, go to the Tools tab. Scroll down until you find “Prepare Form.” Click on it.
Step 3: Click on “Start”
Hit the Start button. Acrobat might ask you to save the file again; just do it. Then it’ll take you into form editing mode.
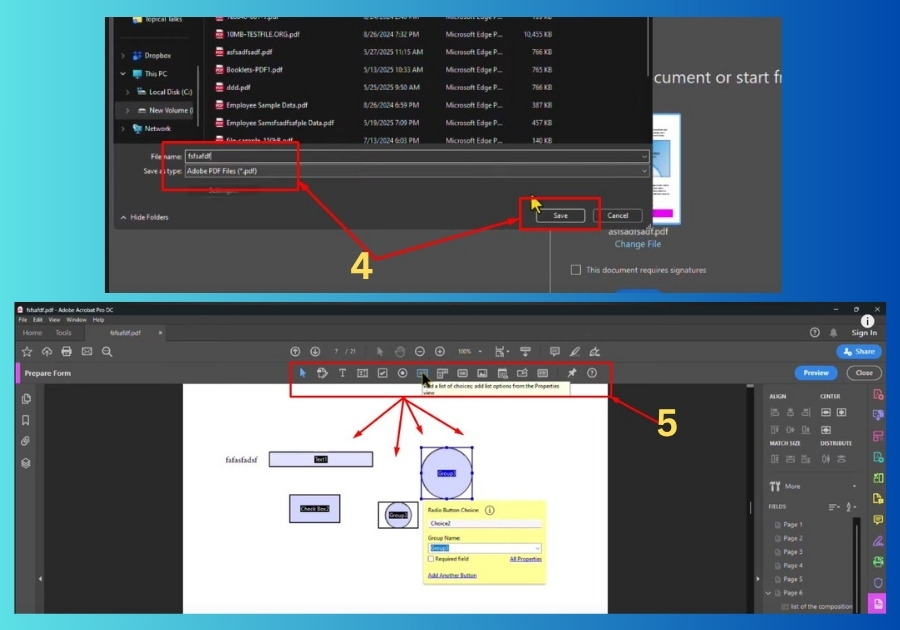
Step 4: Choose the Fields You Want to Add
Now you’re in the fun part. A bunch of form field options will pop up, and you can start adding what you need. Here’s a quick rundown:
- Text Field: Want people to type something? Select the text field, click where you want it, and type a label.
- Checkbox: Great for yes/no options or multiple selections.
- Radio Buttons: Perfect for letting someone pick just one choice out of a few.
- Dropdown List: Useful when you want to give people a list of options.
- Date Field: Need them to select a date? There’s a field for that too.
- Print Button: Want to give them the option to print the form? Add this.
Drag the fields where you want them, adjust the sizes, and label them however you like.
Step 5: Preview Your Form
Once you’ve added your fields, click Preview to see how it looks and works. Try filling in the fields to make sure everything behaves the way you want.
And that’s it!
You’ve created a fillable PDF form without any hassle.
Adding form fields in Adobe Acrobat doesn’t have to be complicated. With just a few clicks, you can make interactive forms for clients, coworkers, or customers.