Adjusting font size can make your PDF easier to read or help you fit more content on a page. It’s a small tweak that can make a big difference, especially if you’re preparing a document for a presentation or sharing it with others.
So, when you are making text bigger for easier reading or smaller to fit more on the page, you can do it in just a few clicks.
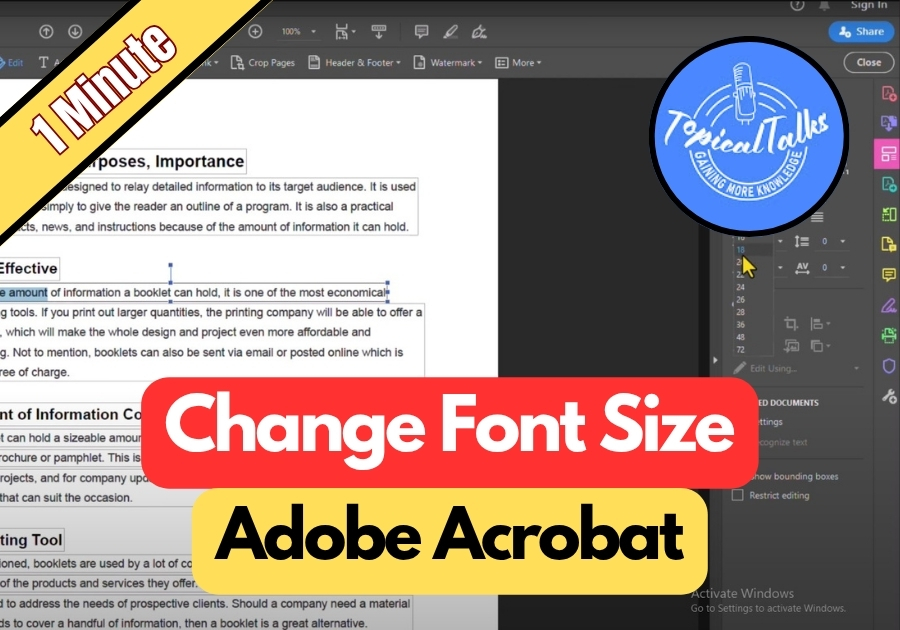
Change Font Size in Adobe Acrobat
Step 1: Open Your PDF in Adobe Acrobat
Start by opening your PDF file using Adobe Acrobat. Make sure you’re not just using the free Reader version, you’ll need the full version of Acrobat to make edits.
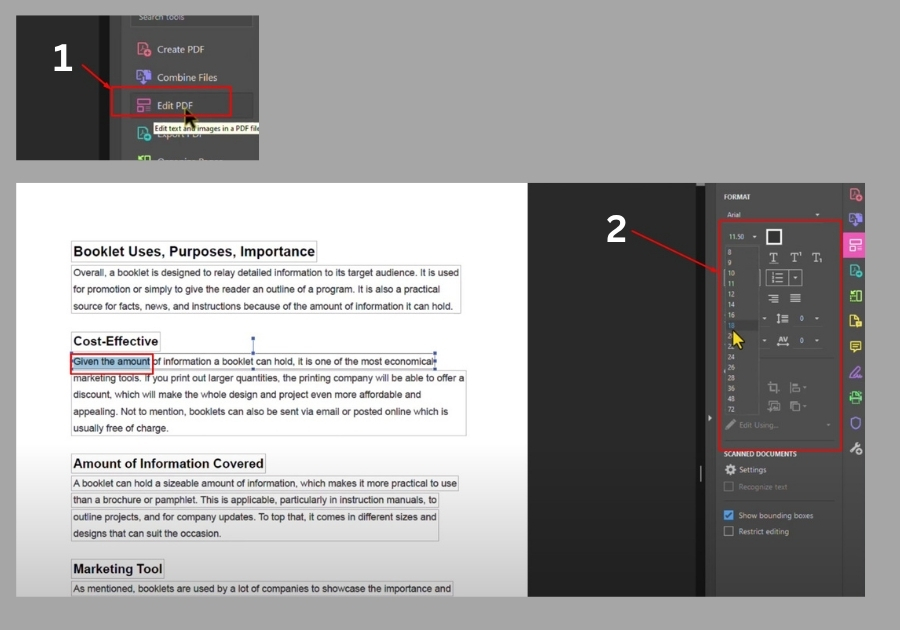
Step 2: Click “Edit PDF” on the Right
Once your file is open, look over to the right-hand side of the screen. You’ll see a menu with different tools. Click on “Edit PDF.”
This opens up editing options for your document.
Step 3: Highlight the Text You Want to Resize
Now, click and drag your mouse to highlight the text you want to change. You can select a single word, a full sentence, or even a whole paragraph—it’s up to you.
Step 4: Adjust the Font Size
Once the text is highlighted, look for the font size option (usually at the top of the screen). Click on it and either:
- Choose a size from the dropdown menu
OR - Type in the size you want manually
You will see the font adjust in real time.
That’s all!
You don’t need any advanced skills or third-party tools, just a few clicks and your PDF looks just the way you want it.