If you’ve ever tried uploading a photo online, you know how frustrating large file sizes can be. But shrinking them often leads to blurry, low-quality results, no fun at all. The good news is you can compress an image in Photoshop and still keep it looking crisp and clear.
In this quick guide, we’ll walk through exactly how to do that using basic tools you already have in Photoshop. Just a fast, effective way to make your images web-ready without losing detail.
Step-by-Step Guide to Compress Your Image
1. Open Your Image in Photoshop
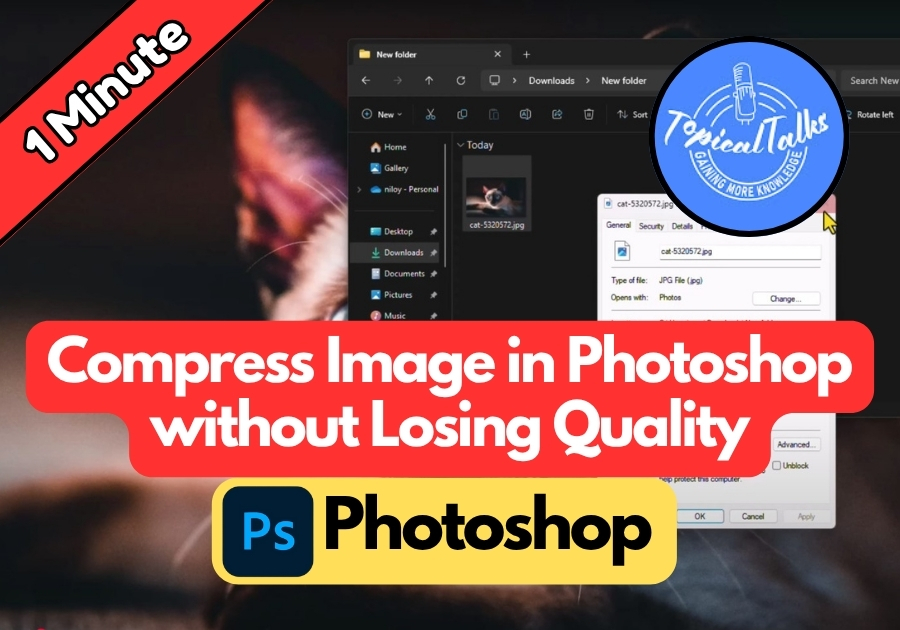
Start by launching Photoshop and opening the image you want to compress. Just go to File > Open, find your photo, and load it up. For this example, we’re working with an image that’s 4.48 MB.
2. Head to the Export Menu
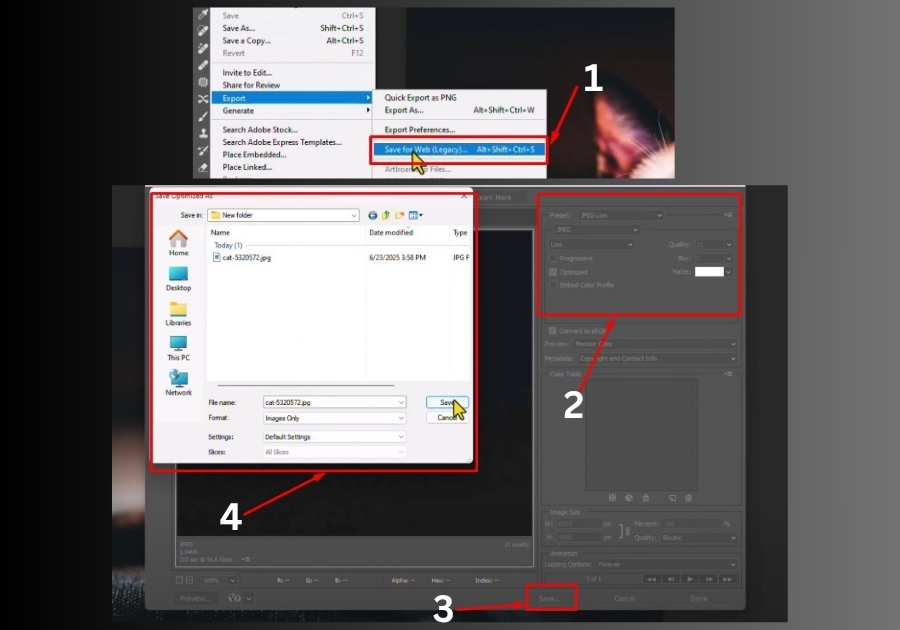
Once your image is open, go to the top menu and click File. Hover over Export, then select Save for Web (Legacy). If you love shortcuts, hit Ctrl + Shift + Alt + S (Windows) or Cmd + Shift + Option + S (Mac) to jump straight to the Save for Web window.
3. Choose the Right Settings
In the Save for Web window, you’ll see a bunch of options. Don’t worry, it’s simpler than it looks! Here’s what to do:
- Preset: Choose JPEG Low from the dropdown menu. This setting balances file size and quality.
- Format: Make sure it’s set to JPEG.
- Optimized: Check the Optimized box. This tweak helps reduce file size without messing with the image’s appearance.
- Quality: Stick with the Low setting for now. You can adjust this later if needed, but Low often works great for compression while keeping things clear.
You’ll notice a preview of the compressed file size at the bottom of the window. In our example, the image drops to around 1 MB, way smaller than the original 4.48 MB!
4. Save Your Compressed Image
Happy with the preview? Click Save, choose where you want to store the file, and give it a name. Hit Save again, and Photoshop will create your compressed image.
5. Check the Results
To make sure everything worked, find your saved image, right-click it, and select Properties (or Get Info on a Mac). In our case, the file size is now just 1.14 MB, a huge reduction! Open the image to confirm it still looks sharp and clear. If the quality isn’t quite right, you can go back and try a slightly higher quality setting, like Medium, in the Save for Web window.
Pro Tip: If you’re compressing multiple images, you can save your settings as a preset in the Save for Web window to speed things up. Just click the small menu icon next to the Preset dropdown and save your custom settings.
There you go!
You’ve just learned how to compress an image in Photoshop without losing quality. Try it out, and let me know in the comments how it worked for you!