Want to combine two images in Photoshop to create something awesome?
Maybe you’re adding a friend to a scenic background or spicing up a project with a cool overlay. Whatever your goal, inserting one image into another is super easy and fun.
In this quick guide, I’ll walk you through the simple steps to make it happen, and no fancy skills are needed!
Insert an Image Into Another Image in Photoshop
- Open the First Image
- Launch Photoshop and open the image you want to copy from.
- In the Layers panel, make sure the image layer is unlocked (just click the lock icon if it’s locked).
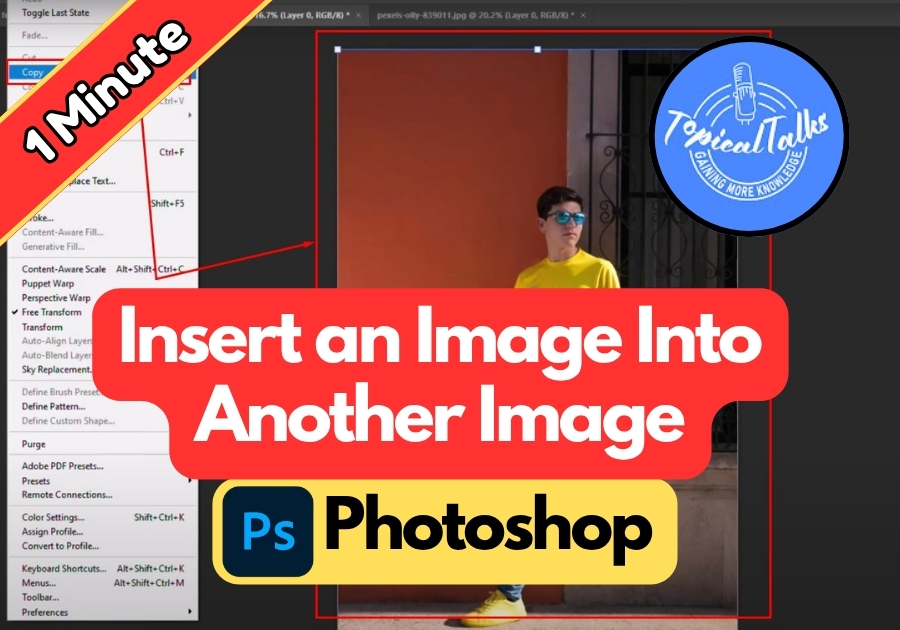
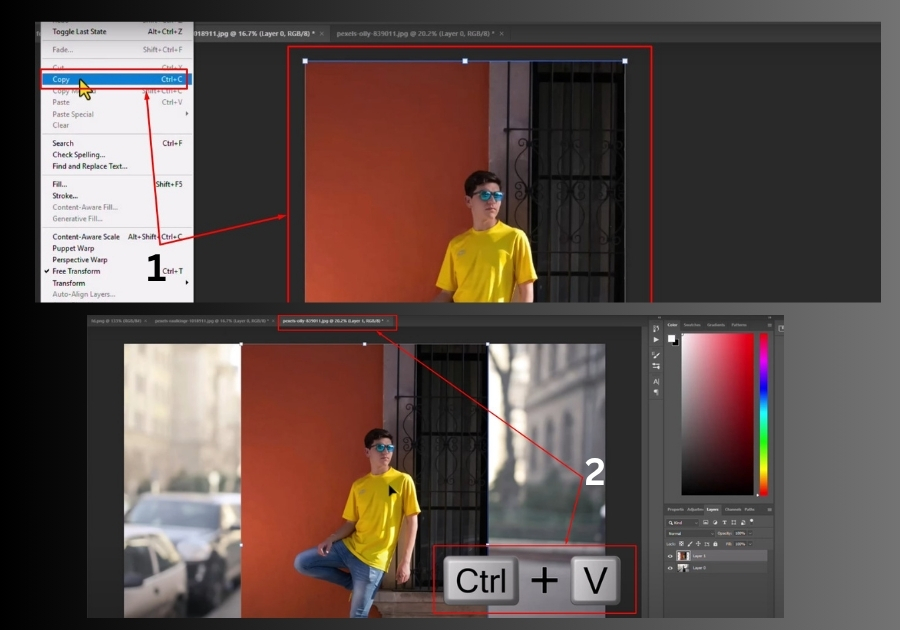
- Copy the Image
- Go to the top menu and click Edit > Copy.
- Or simply press Ctrl + C (Windows) / Cmd + C (Mac).
- Open the Second Image
- Now open the second image, the one you want to paste into.
- Paste the First Image
- With the second image open, press Ctrl + V (Windows) / Cmd + V (Mac).
- You’ll see the first image appear on top of the second one.
- Resize and Position
- Select the Move Tool (shortcut: V) to drag your image where you want it.
- Use the corner handles to resize it as needed. Hold Shift while resizing to keep proportions (in older Photoshop versions).
- Start Creating
- That’s it! Now you can adjust the layer, add effects, or just continue editing your project however you like.
Quick Tip: For smoother results, try using layer masks or blending modes once the image is placed, but only if you’re feeling a bit more adventurous!
That’s it!
You’re ready to create some awesome image combos in Photoshop. Have fun experimenting!