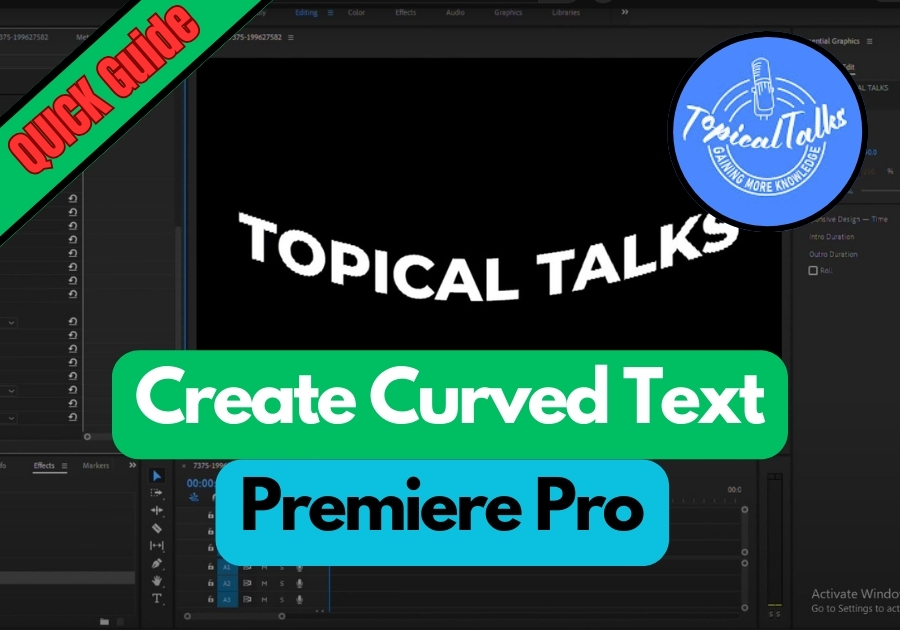
If you want to add a little flair to your text in Premiere Pro, curving it is a great way to catch your viewer’s attention. This simple trick is perfect for intros, titles, or any text you want to stand out.
Here’s a quick guide on how to curve text in Premiere Pro using the Wave Warp effect.
The Simple Method to Curve Text in Premiere Pro
Step 1: Add Your Text
Start by creating your text layer inside Premiere Pro. This is the basic text you want to curve. Once that’s done, you are ready to jump into the effects.
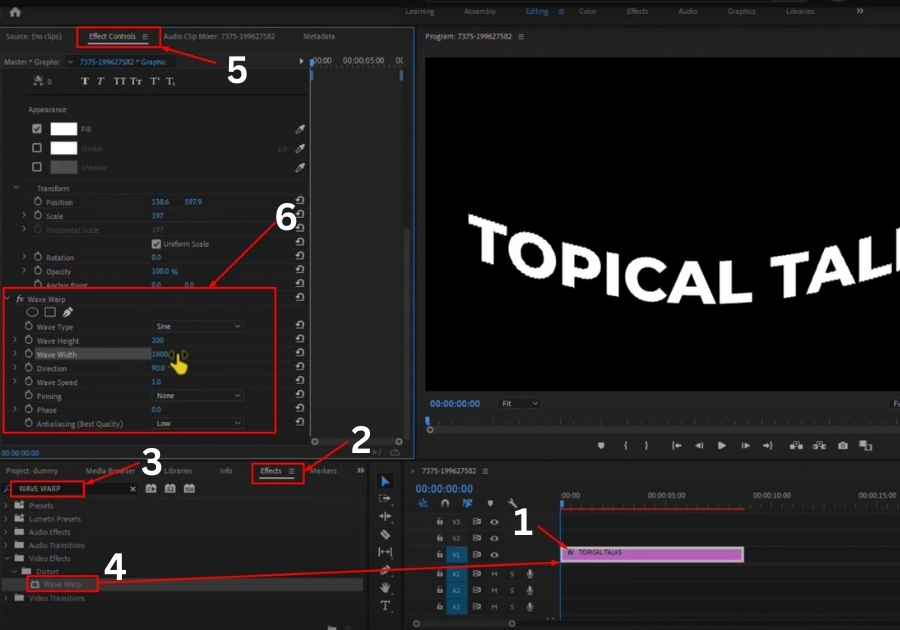
Step 2: Search for Wave Warp
Go to the Effects panel and search for “Wave Warp.” Drag and drop that effect onto your text layer. This is the magic tool that’s going to bend your text for you.
Step 3: Tweak the Settings
Now, click on your text layer and head over to Effect Controls. You will see the Wave Warp settings show up.
Here’s what to do next:
- Wave Height: Set it to 200%
- Wave Width: Set it to 1300
See, your text now curves nicely!
Step 4: Adjust the Curve
Want more or less curve? Play around with the Wave Width. The higher the number, the more stretched out and gentle the curve becomes. The lower the number, the tighter the curve.
That’s it!
No complicated paths. No external tools. Just one built-in effect, and your text looks creative and polished.