If you’re looking to add some drama, energy, or intensity to your video, creating a lightning effect is a great way to do it.
In this guide, you will go through the steps to create a lightning effect using an adjustment layer, tweak its colors and position, and even add some flair by duplicating the effect.
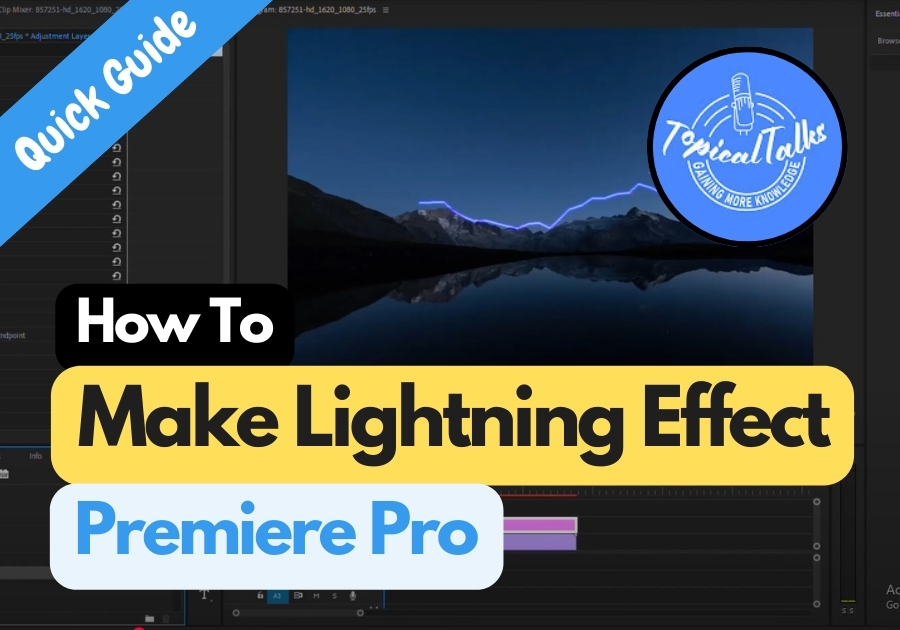
Make Lightning Effect in Premiere Pro
Step 1: Add an Adjustment Layer
First, you need to create an adjustment layer. This will act as a transparent overlay where you can apply effects without affecting your original clip.
- Go to File > New Item > Adjustment Layer.
- Drag that adjustment layer onto your timeline, placing it above your video clip.
- Make sure its length matches your video clip exactly.
Step 2: Apply the Lighting Effect
Now it’s time to bring in the lighting effect:
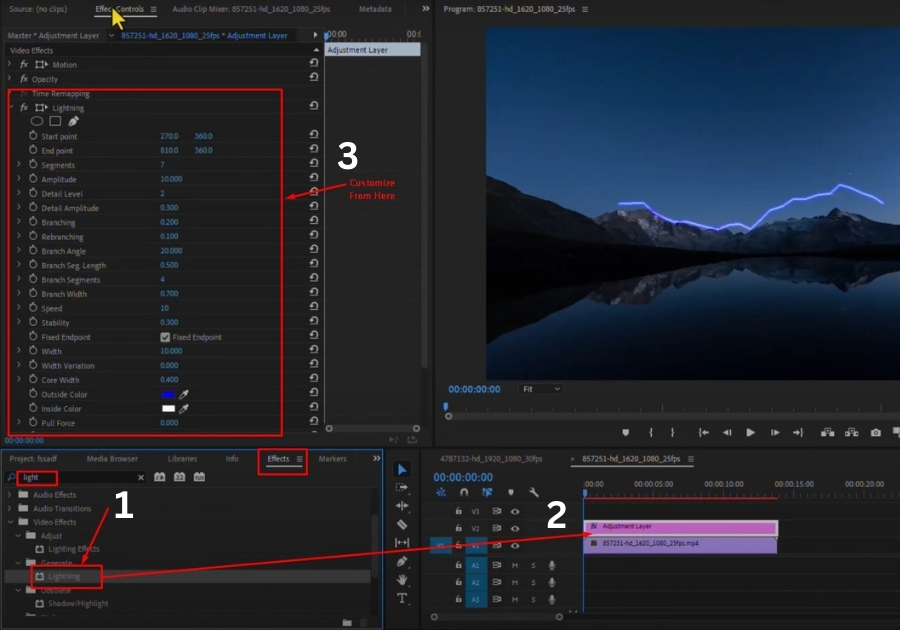
- Go to the Effects panel (you can find it under the “Effects” tab).
- In the search bar, type “light“.
- Under the Generate category, look for Lighting Effects.
- Drag this effect onto your adjustment layer.
Step 3: Customize Your Lightning
Once applied, head over to the Effect Controls panel. Here, you will see options under the Lighting Effects section.
- You can click and drag the light source around your frame to position it where you want.
- Click on Outside Color to change the color of the light beam.
- Similarly, click on Inside Color to adjust the inner glow or core of the light.
Now, Play on your timeline to preview the effect. You should already see some cool lighting simulating a lightning glow.
Step 4: Create the Flashing Lightning Look
To make it look more like real lightning flashing, we will duplicate the adjustment layer a few times and tweak each copy slightly.
- Zoom into your timeline so you can work with precision.
- Crop one of the layers to just a short segment where you want the first flash.
- Hold down the Alt key (Option key on Mac) and drag to duplicate the layer.
- Shorten the duration of this new layer and move the light position slightly to simulate another bolt.
- Repeat this one more time; duplicate again, adjust timing, and shift the light position once more.
Now, when you play your timeline, it will look like lightning is flashing across your scene in different places, just like real life!
That’s all! With just a few clicks and some smart layering, you have created a convincing lightning effect in Premiere Pro. Whether you are editing horror scenes, stormy weather shots, or dramatic moments, this trick adds instant impact.
Try experimenting with different colors and positions to match your video’s vibe. Happy editing!