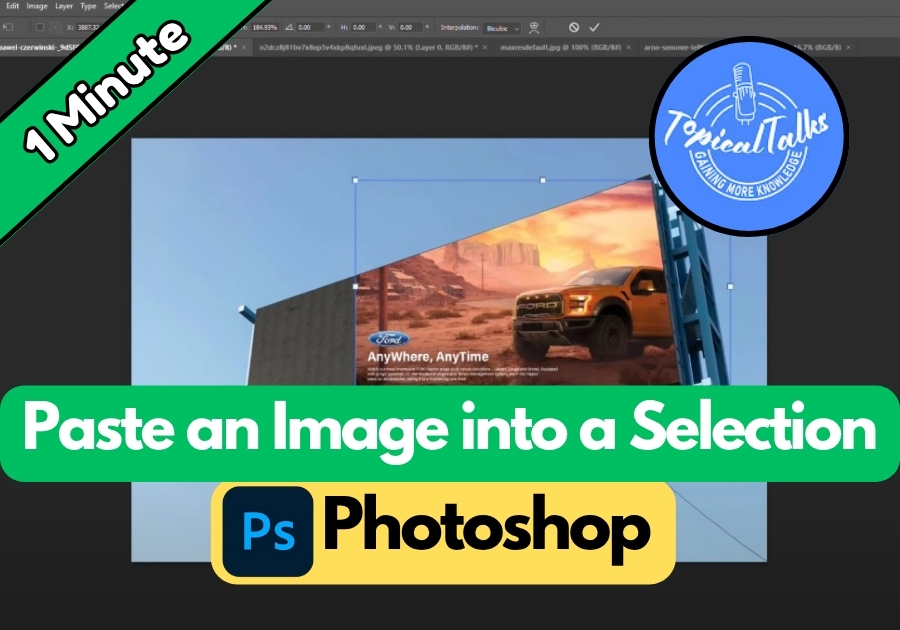
If you’ve ever wanted to drop one image inside a selected area of another image in Photoshop, there’s a quick way to do it.
Whether you’re designing a fun collage or doing precise photo editing, this trick can save you time and make your workflow smoother.
Let’s walk through how to do it step by step using a simple copy-paste technique that works like magic.
Step-by-Step: Paste an Image into a Selection in Photoshop
- Make Your Selection
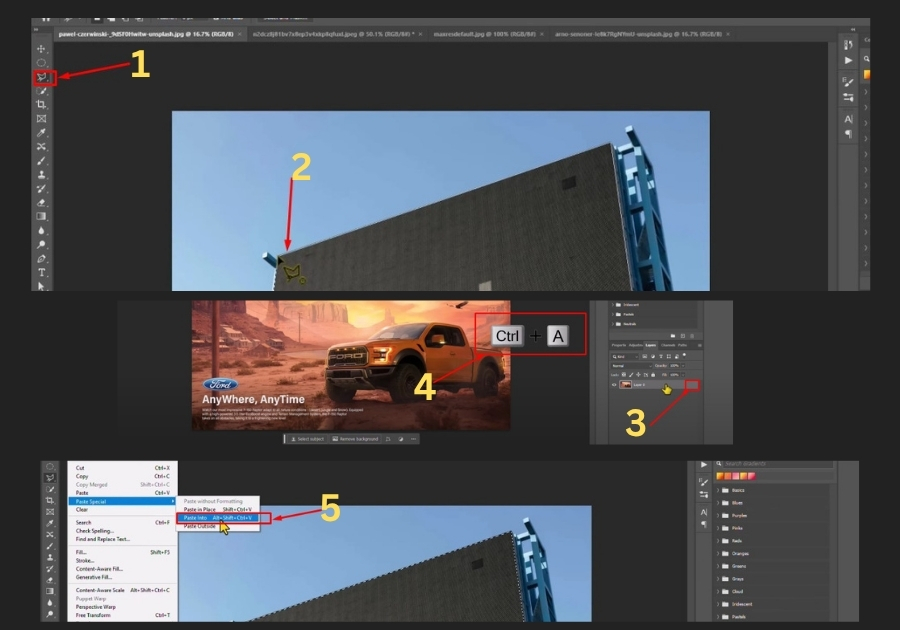
Open your main image in Photoshop. Select the area where you want to paste another image using any selection tool, like the rectangular or lasso tool. For example, you might draw a box over a blank screen or a signboard. - Open the Image You Want to Insert
Now, open the image you want to paste into that selection. Once it’s open, unlock the layer by clicking the lock icon in the Layers panel. - Copy the Entire Image
Press Ctrl + A to select the whole image, then Ctrl + C to copy it. - Go Back and Use Paste Into
Switch back to your original image (where you made the selection).
Now go to the Edit menu, hover over Paste Special, and click Paste Into. - Resize and Adjust
Press Ctrl + T to transform the pasted image. You can now resize it, move it around inside the selection, or even rotate it to fit just right. Hit Enter or click Done when you’re happy with the placement.
And just like that, you’ve cleanly pasted an image into a specific selection. It looks polished and fits perfectly, great for creative projects, mockups, or just having fun with your edits.