Want to add a cool rewind effect to your video? Reversing a video can add a creative flair to your projects. It’s perfect for uniquely highlighting a key moment, creating a playful or surreal vibe, and enhancing transitions between scenes. Whether you are creating a fun montage or a dramatic slow-motion sequence, this trick can make your project stand out.
Here’s a quick step-by-step guide to get it done.
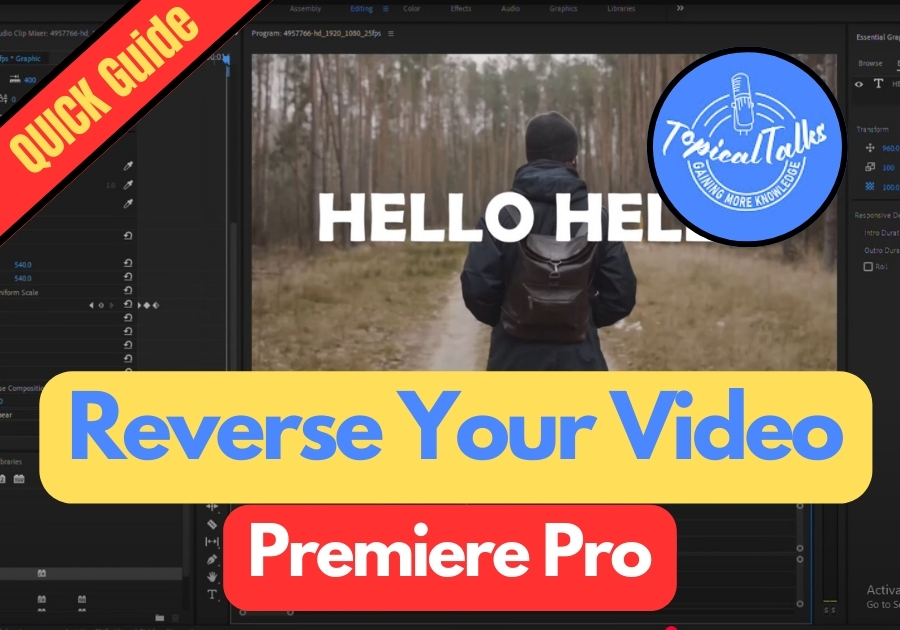
Reverse Video in Premiere Pro
Step 1: Duplicate Your Video Clip
Start by opening your project in Premiere Pro and locating the video clip you want to reverse on the timeline. To keep your original clip safe, you will want to duplicate it first. Hold down the Alt key (or Option on a Mac) and drag the clip upward to create a copy. This way, you have the original and a duplicate to work with.
Step 2: Open the Speed/Duration Settings
Now, right-click on the duplicated clip in the timeline. A menu will pop up, select Speed/Duration from the list. This opens a window where you can tweak the clip’s playback settings.
Step 3: Reverse the Clip
In the Speed/Duration window, look for the Reverse Speed checkbox. Click to check it, and then hit OK. That’s it! Your duplicated clip will now play backward.
Step 4: Preview Your Reversed Video
Go back to your timeline and play it from the start. You will see the duplicated clip running in reverse, creating that rewind effect you were aiming for. If it looks good, you are all set! If you want to make adjustments, you can always go back to the Speed/Duration settings to fine-tune.

This method works great for most basic edits. And since it doesn’t involve any advanced settings, it’s perfect if you’re just getting started with Premiere Pro.
Give it a try next time you are editing and impress your viewers with smooth, reversed motion, all done in just a few clicks.