Recorded a video the wrong way or want to give your footage a creative spin? It happens sometimes. Maybe you shot it in portrait mode but need it in landscape or vice versa. You can easily rotate a video clip in Adobe Premiere Pro, It’s super easy.
Here’s how to do it without all the technical confusion.
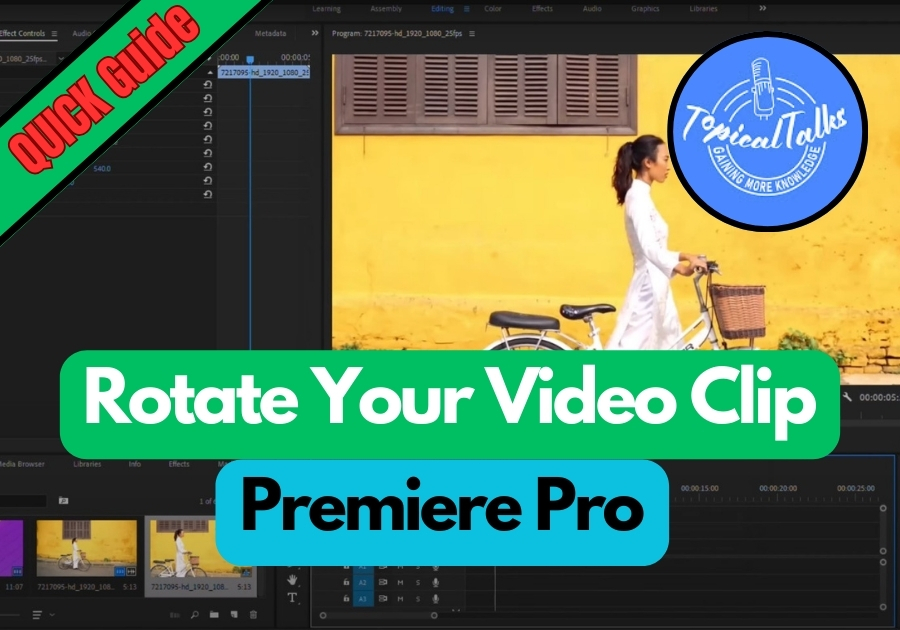
Rotate Your Video Clip in Premiere Pro
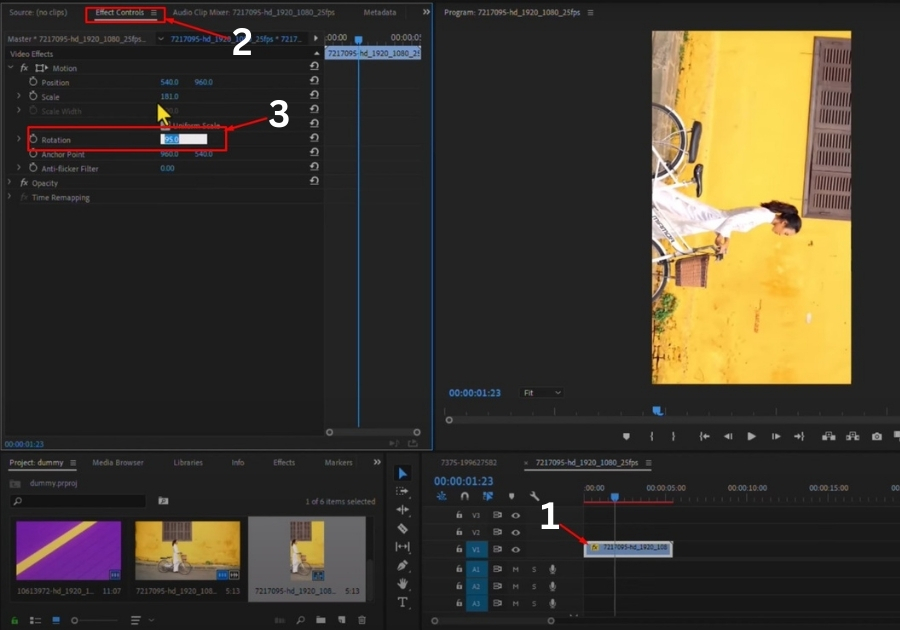
Step 1: Select the Video in Your Timeline
Open up your project and head straight to the timeline. Click on the video clip you want to rotate. That’s your starting point.
Step 2: Head Over to Effect Controls
With your clip selected, go to the Effect Controls panel. You’ll see a setting called Rotation.
Want to spin your video around? Just adjust that rotation value. For example, type in 90 to turn it sideways, or 180 to flip it completely. Move the slider or type the number.
Step 3: Need to Go from Portrait to Landscape?
If your video was shot vertically (like on a phone) but you want it to fill a horizontal screen, you’ll need to tweak one more setting.
Here’s what to do:
- Go to the Sequence menu at the top.
- Click Sequence Settings.
- Look for the Frame Size section.
- Swap the numbers, type in 1920 for the horizontal size and 1080 for the vertical.
- Hit OK.
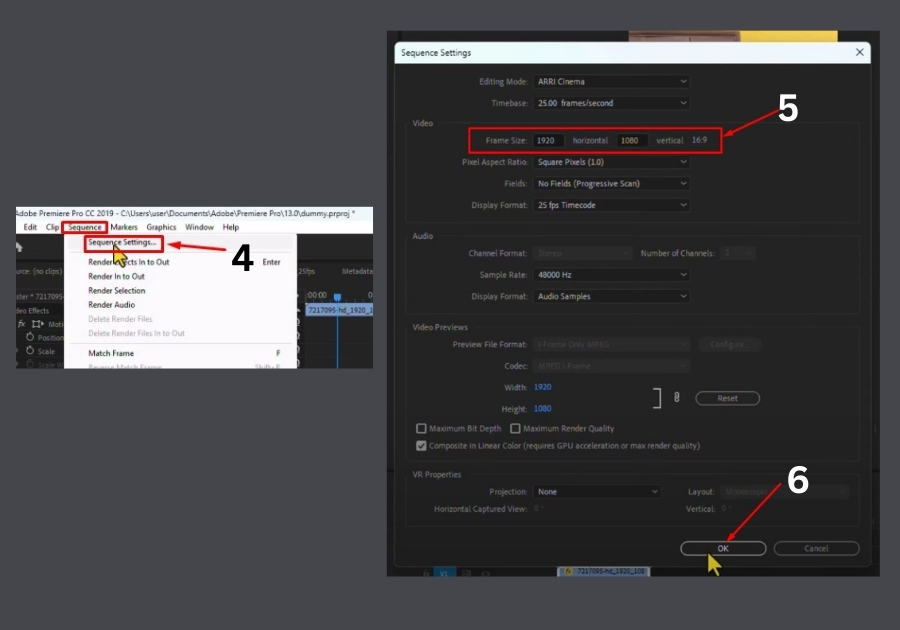
Now your video fits a standard widescreen frame. If it looks a bit stretched or cropped, you can go back to the Effect Controls panel and adjust the Position or Scale under the Motion section to fine-tune how it sits in the frame.