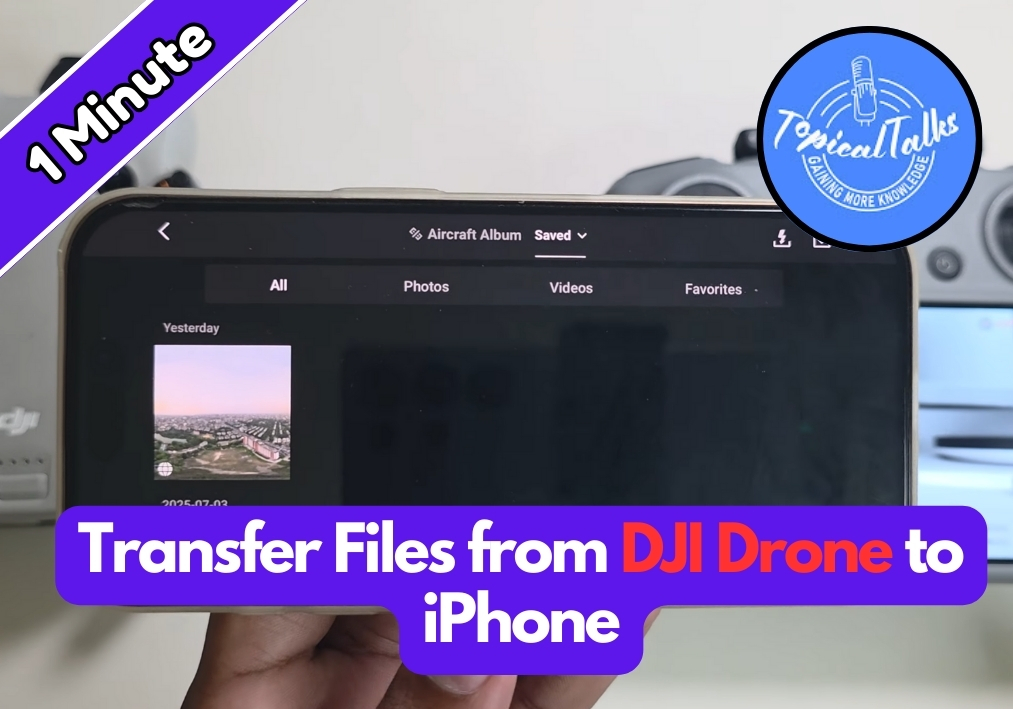
Want to get those awesome drone shots onto your iPhone without a hassle? You don’t need your remote controller to make it happen!
In this quick guide, I will show you the simple steps to transfer files from your drone to your iPhone using the DJI Fly app.
Simple Steps to Transfer Files From Drone to iPhone
Step #1
Start by turning on your drone. Make sure it’s fully powered and ready to connect.
Step #2
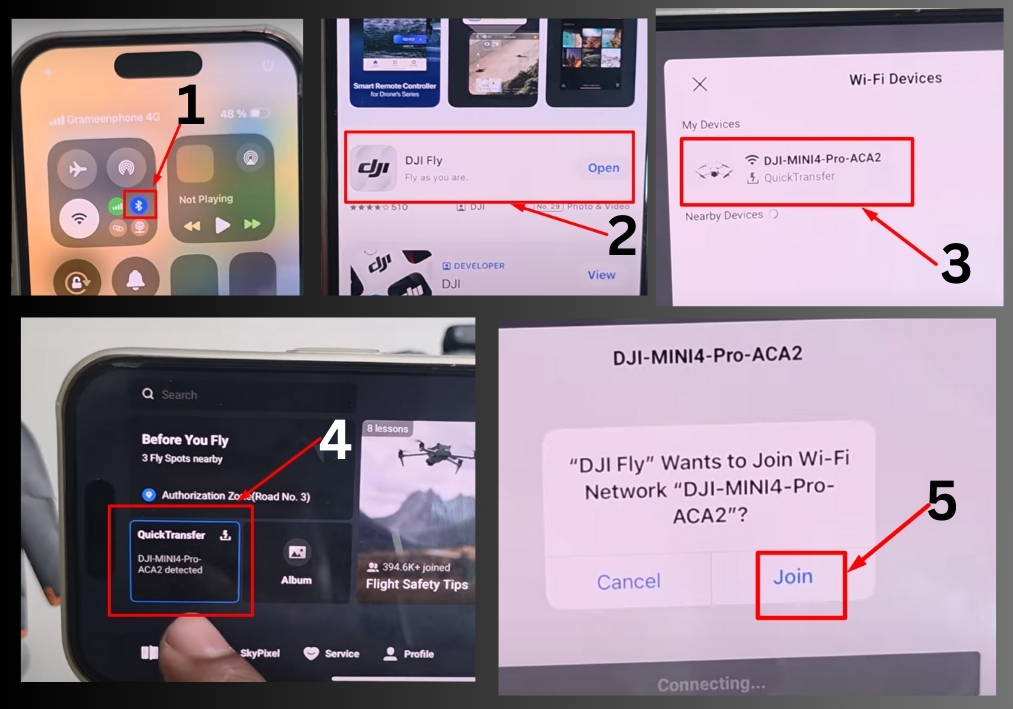
Go to your iPhone settings and turn on Bluetooth. This will allow your phone to detect and connect to your drone.
Step #3
Launch the DJI Fly app on your iPhone. If you don’t have it installed yet, head to the App Store and search for “DJI Fly” to download it.
Step #4
Once the app is open, look for the “Quick Transfer” option and tap on it. This feature lets you connect to your drone without using the remote controller.
Step #5
You will see your drone appear in the available devices list. Simply tap “Join” to establish the connection.
Step #6
After connecting, you will see all the files stored on your drone. You can now browse through your photos and videos directly from your iPhone and transfer the ones you want to keep.
Step #7
When you are finished transferring files, tap “Exit” to disconnect from the drone. Your drone will return to its normal remote control mode.
And that’s it!
Transferring files from your drone to your iPhone is quick and easy with the DJI Fly app.