Need to use saved audio in Instagram story? All you have to do is follow the instructions outlined in this article. And you can easily add your preferred audio to your Instagram story. Here is the exact steps to access it and utilize it.
Step by Step Guide to Use Saved Audio in Instagram Story:
- First, open the Instagram app in your mobile device.
- Press on the plus icon to record or upload your photo or video.
- Now tap on the story mode to upload the video as story. you can also swipe right to access the story mode as well.
- After that record section will appear. you can capture image or record video instant on here. if your footage is already saved on the mobile then click on the album icon on the bottom left corner.
- After tapping on the album icon, the album will slide up. Find and select your video or image to upload in Instagram as story.
- After selecting the image or video you will see the music icon on the top right corner. Just tap on it.
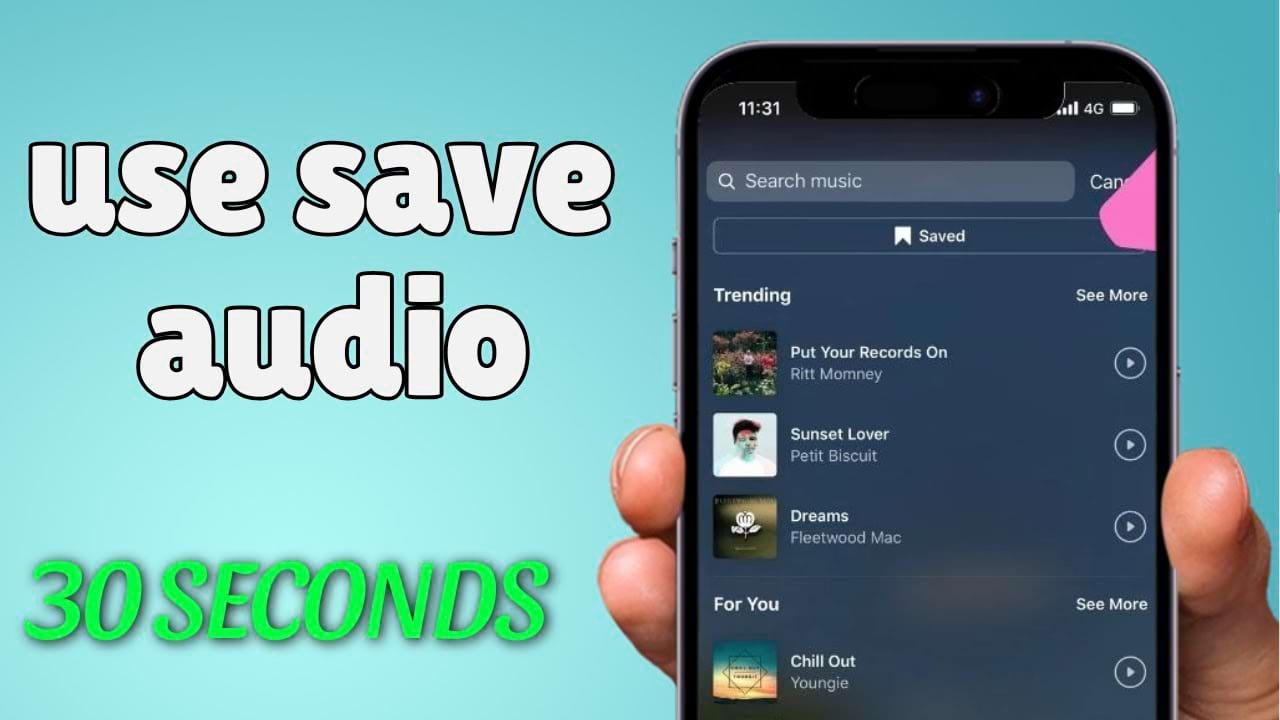
- Now the song list will appear. To use the saved audio in an Instagram story, tap on the saved button on the top right corner.
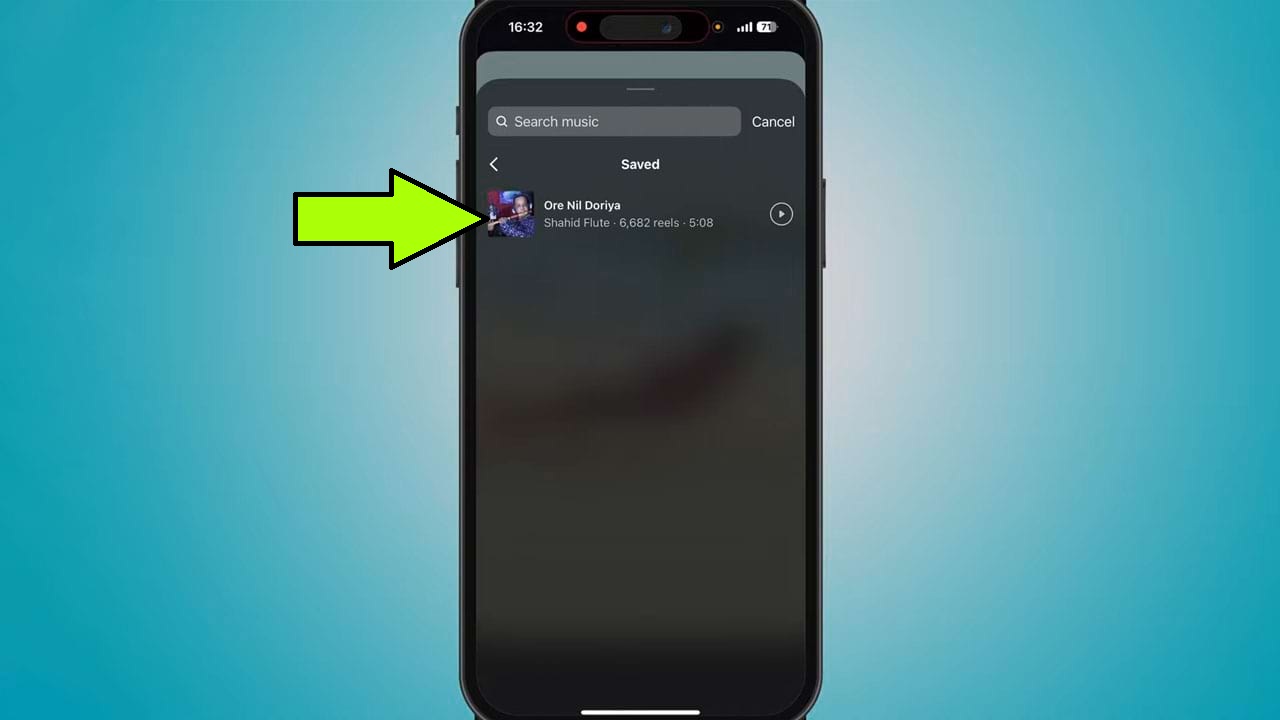
- Following that saved music list will appear. Select your preferred audio from your saved collection.
- Customize the audio by trimming, cutting, or selecting a specific part of the music. then tap done.
- Once done the editing, a music sticker will appear on the photo. Position the sticker as you like. You can also change the music sticker style by tapping on it!
- After all the adjustments are complete, tap on the next button on the bottom right corner.
- Now the share section will pop up. tap on share.
- The next screen will show you if you want to send your story to an individual friend or family person.
- Finally, tap done to share your photo or video as an Instagram story.
And That’s how you can use saved audio in Instagram story.